The tell-tale signs of a developer special aren’t subtle: flat-panel cabinets in an indeterminate shade of brown, laminate countertops that photograph beige, and four square feet of subway tile above the range that matches every other unit in the complex. The bones are fine. The problem is that nothing in the room made a decision. A backsplash upgrade changes that without touching the cabinets, the counters, or the plumbing — and it’s one of the few kitchen improvements where a weekend of work actually looks finished.
Here’s what actually matters before you buy a single tile or peel-and-stick panel.
Start With the Wall, Not the Material
Builder kitchens usually have the most backsplash square footage in the zone between the upper cabinets and the countertop — typically 18 inches of height, sometimes less depending on cabinet placement. Measure this zone before anything else: total linear feet of wall, subtract window and outlet rough openings, and add 10 to 15 percent for cuts and waste. A 12-foot run of backsplash at 18 inches high is 18 square feet of net coverage; at standard tile sizes, that’s an easy number to price out at your tile supplier.
Run that measurement through a surface area calculator if you’re mixing tile formats — say, a field tile plus a 4-inch-by-12-inch accent row along the top. Mismatching your tile count by one box is a common and annoying mistake, because dye lots change.
One step most people skip: check the wall surface. Drywall that has never had a backsplash applied may have standard paint over it. Most tile adhesives bond better to clean drywall than to glossy paint, so a light scuff with 120-grit sandpaper and a wipe-down with a TSP substitute is worth 20 minutes before you open a bag of thinset. Peel-and-stick panels are more forgiving about surface prep but far less so about even walls — run a four-foot level across the wall and note any humps, because a peel-and-stick sheet that bridges a half-inch hump will telegraph that hump forever.
Choosing a Color That Actually Pops (Without Regretting It)
The phrase “pop of color” gets overused, but in a builder kitchen it’s doing a real job: one saturated or strongly tonal surface overrides the visual mush of the existing finishes. A few approaches hold up in practice.
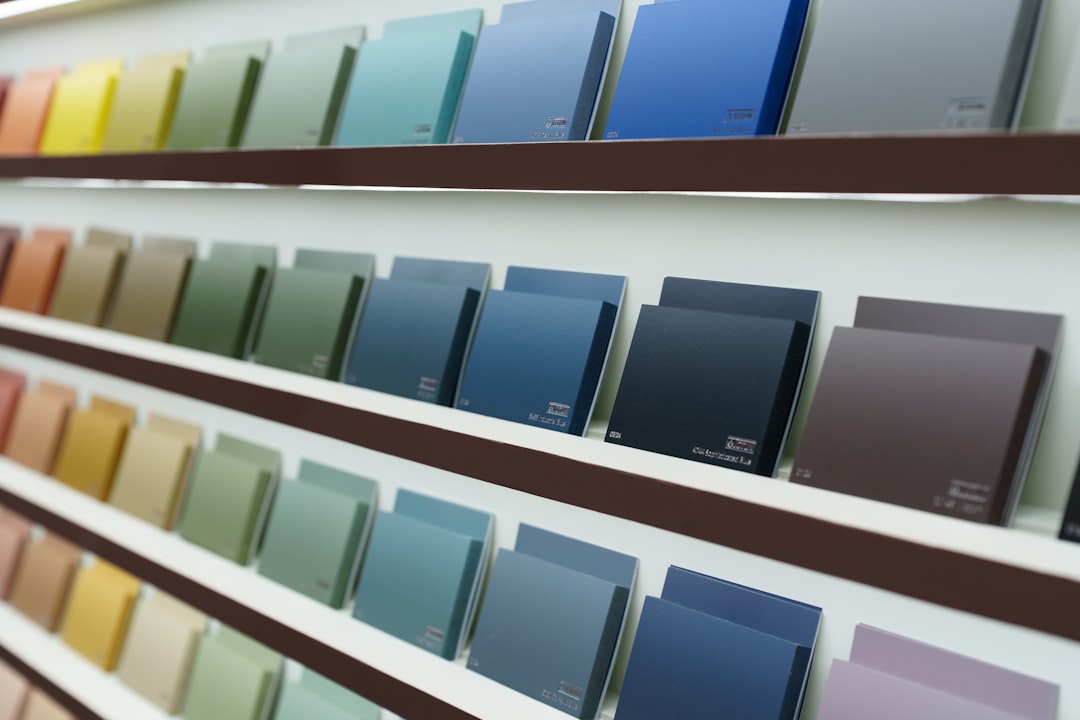
Contrast without clashing: If your cabinets are white or off-white and counters are gray or beige, almost any mid-toned color works as backsplash — sage greens, warm terracotta, navy, deep teal. The cabinets become neutral framing and the backsplash reads as the intentional choice.
Using grout as a second color decision: A white tile with a colored grout (charcoal, warm brown, or even a deep green) can create the color pop without committing to a glazed tile in a bold hue. This matters especially if you’re renting or plan to sell — grout color is less alarming to future buyers than a full wall of hand-painted Moroccan tile.
Avoiding the accent strip trap: A single row of decorative tile sandwiched in a sea of plain subway tile often ends up looking more timid than intended. If you’re going to do a contrast accent, give it enough visual mass — a full third of the backsplash height, or the entire hood surround as a field — otherwise it reads as an afterthought.
It’s worth looking at actual installed photos in spaces with comparable cabinet and counter finishes, not just the manufacturer’s styled photography under perfect studio light. An interior designer turning a bold color idea into a full kitchen redo — like this wallpaper-based approach to a kitchen refresh — shows how committing to one strong surface can carry a whole room.
Tile vs. Peel-and-Stick vs. Slabs: The Honest Tradeoffs
| Material | DIY difficulty | Water resistance | Lifespan (approx.) | Reversibility |
|---|---|---|---|---|
| Ceramic or porcelain tile with thinset | Moderate | Excellent | 20+ years | Low (demo required) |
| Peel-and-stick vinyl panels | Low | Good (seams are vulnerable) | 5–10 years | High |
| Large-format porcelain slab (cut-to-fit) | High | Excellent | 20+ years | Low |
| Grout-free interlocking mosaic | Low–moderate | Good | 10–15 years | Moderate |
Thinset tile remains the most durable option, but it requires a float-and-level installation, mixing compound, and accurate cuts around outlets — a tile saw rental typically runs $50–$90 per day (confirm current rates at your local equipment supplier). Peel-and-stick panels have improved significantly in quality; the better products are 2mm to 3mm thick and use a repositionable pressure-sensitive adhesive, but they will lift around heat sources like an uncovered range, so a heat-resistant caulk bead around that perimeter is not optional.
Large-format porcelain slabs (12-by-24 or 18-by-36 inches) are increasingly available at home improvement stores and produce a nearly seamless look with fewer grout lines to clean. Cutting them without chipping requires a wet saw and a continuous-rim diamond blade; budget for a few test cuts on offcuts before committing.
The Outlet Problem Nobody Mentions Until Midway Through
Every backsplash installation has at least one outlet box that will need attention. When you add tile or panel material behind an outlet, the face of the outlet plate recedes by the thickness of your new material — usually 6mm to 12mm. Electrical code in most jurisdictions requires outlet boxes to be flush with or recessed no more than a specific tolerance from the finished wall surface (check your local code, because this varies).
The practical fix is box extenders: plastic or metal sleeves that push the outlet box forward. They cost a few dollars each and take five minutes to install with the breaker off. Don’t skip this step; a recessed outlet that rocks in its box is a code issue and a fire risk, not just a cosmetic nuisance.
What This Actually Costs and How to Finance It Sensibly
For a typical apartment-sized kitchen with roughly 20 to 25 square feet of backsplash, materials-only costs can range from around $150 for peel-and-stick panels to $400–$900 for ceramic tile with thinset and grout (verify current pricing at your local supplier, as tile costs fluctuate). Add rental equipment, outlet extenders, grout sealer, and edge trim pieces, and a self-install job in the $500–$700 range is realistic for mid-grade ceramic tile.
If you’re bundling this with other kitchen improvements, it’s worth thinking about how you’re financing the total project. Putting a small-scope renovation on a credit card versus pulling from a line of credit has real cost differences — this breakdown of credit card vs. HELOC decisions for home improvement is worth a read before you decide which account gets the charge.
Before You Grout, Do One Thing
Take a photo of the tiled wall before grouting. It sounds minor, but if any tile shifts during the 24-hour adhesive cure window, you’ll want a reference for the original alignment before you lock everything in. Check spacing with a 12-inch level across at least three horizontal rows and one vertical. An 1/8-inch drift in grout line width becomes visible at 10 feet. Fix it with a grout saw now; removing grout later is miserable work.
Once you’re satisfied with alignment, apply grout in sections small enough to wipe clean within 15 to 20 minutes — haze left longer than that starts to bond, and removing cured grout haze from a matte-glazed tile requires a grout haze remover and more effort than the time you thought you saved.