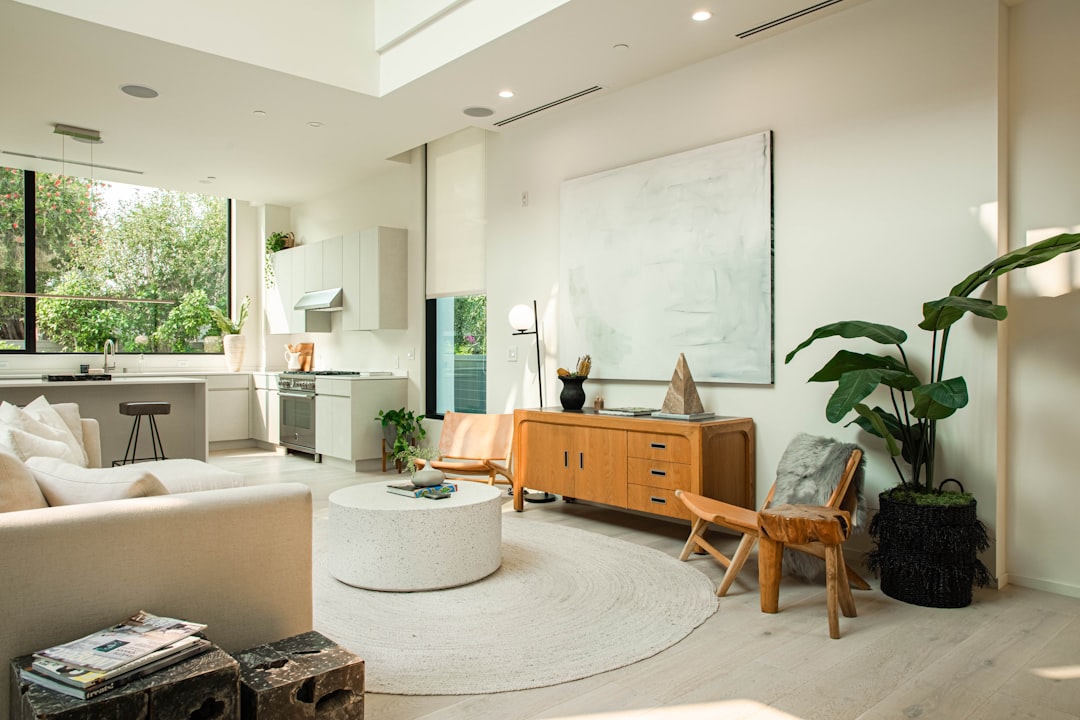
Moving boxes are still stacked in the hallway, the utilities are live, and there’s one question that surfaces faster than any other: why is the signal dead in half the house? Nine times out of ten, the answer was baked into the floor plan before a single device came out of a box.
Getting wireless coverage right is fundamentally a spatial problem. The router is a transmitter sitting at a fixed point, broadcasting through walls, floors, ceilings, and every material those surfaces are made of — and not all of them cooperate equally. Treating Wi-Fi setup as a quick ten-minute task at move-in leads to months of workarounds. Treating it as a short spatial-planning exercise, ideally done before furniture locks everything into place, leads to coverage that actually matches how you use the space.
Here’s the checklist we’d hand to any homeowner walking through an empty house for the first time.
Step 1: Walk the Floor Plan Before You Assume Anything
Get your hands on the floor plan — from the listing, from the builder, or from a quick sketch with a laser measure — and mark every space where you’ll need reliable connectivity. Don’t just think “living room and bedrooms.” Think through the specific activities:
- Video calls from a home office or kitchen counter
- Streaming in a bedroom on the far end of the house
- Smart doorbell or outdoor cameras at entry points
- A garage workshop or backyard where signal needs to reach outdoors
- A finished basement, if one exists
Once those zones are marked, note the physical distance from wherever the ISP’s coax or fiber entry point lands. In most homes, that entry point is wherever the previous owner preferred it — often a front bedroom or utility closet — not where it’s most useful to you. Knowing the gap between the entry point and your dead zones is the first real measurement that matters.
Step 2: Identify the Signal-Killers in the Structure
A 2,000-square-foot house with standard drywall interior walls behaves very differently from a 1,200-square-foot house with original plaster, brick, or concrete block construction. Radio signals at 5 GHz drop off faster through dense material than at 2.4 GHz, which is why older construction and multi-story homes are disproportionately affected.
Walk the space and flag the following:
- Plaster or lathe walls (common in homes built before 1950): attenuate signal significantly more than drywall
- Brick or block interior walls: a known problem in certain mid-century commercial-conversion or loft-style spaces
- Metal HVAC ducts running through ceilings or walls: these reflect and scatter signal
- Concrete floors between stories: a single floor of solid concrete can cut 5 GHz signal to near-zero one level down
- Foil-backed insulation in exterior walls: increasingly common in energy-efficient construction, and it effectively acts as a Faraday cage for wireless signals
You don’t need specialized equipment at this stage. A building permit history or a quick look at exposed framing in an unfinished area will usually tell you what you’re dealing with.
Step 3: Plan Router and Access Point Placement Geometrically
Most people place the router where the ISP installs the modem. That’s almost never the geometric center of the home — which is where placement logic should actually start.
Draw a rough circle around your intended router position at a radius that represents one signal-strength zone (roughly 30–40 feet through open air for 5 GHz; more like 50–60 feet for 2.4 GHz in unobstructed space, though your specific hardware specs will differ). Any living space that falls significantly outside that circle is a candidate for a wired access point or a mesh node.
A few placement rules worth committing to:
- Elevated is better than floor level — routers broadcast in a roughly toroidal pattern, so mounting at ceiling height or on a high shelf reaches more of the floor plan
- Central hallways outperform corners — a router tucked in the far corner of a study is a waste of broadcast range
- Keep it away from microwaves and cordless phones — both operate at 2.4 GHz and cause interference, especially in smaller kitchens
- Avoid enclosing it in a media cabinet — solid wood panels on four sides can cut effective range by a third or more
If you’re renovating before move-in, this is the moment to run ethernet cable in the walls to two or three key locations. A single Cat6 drop to the far end of the house costs relatively little as a rough-in task, and it future-proofs the entire setup.
Step 4: Decide Between a Single Router, Mesh System, or Wired Access Points
This is the decision most homeowners make on instinct and later regret. Here’s a practical framework:
| Scenario | Best Fit |
|---|---|
| Under 1,500 sq ft, mostly open plan | Single router, centrally placed |
| 1,500–3,000 sq ft, some thick walls | Mesh system with 2–3 nodes |
| Over 3,000 sq ft or multi-story | Wired access points on each floor |
| Detached garage or ADU on the property | Wired run + dedicated AP, or point-to-point wireless bridge |
| Plaster-and-lathe throughout | Wired backbone regardless of square footage |
Mesh systems have become dramatically more capable in the past few years, but they’re not a free lunch. Nodes that connect to each other wirelessly — rather than over a wired backhaul — use a chunk of their own bandwidth to talk to each other. If you’re already running ethernet to a central closet, a small managed switch feeding wired access points is often a cleaner, more stable architecture than any wireless mesh.
Step 5: Test Before Furniture Locks Everything In
Empty rooms give you a window that won’t come back once the sectional is in place. Use a Wi-Fi analyzer app on your phone — there are several in both iOS and Android stores that display signal strength as dBm rather than bar graphs — and walk every corner of the house with a temporary router placement to log actual signal levels. Note any spot that drops below about -70 dBm; that’s typically the threshold where video calls start degrading.
This is also the moment to test the ISP’s provided gateway device independently. ISP-supplied hardware is often technically adequate for a small apartment and not much more. If the provided gateway’s specs top out at a combined 1,200 Mbps across both bands, it will become the bottleneck regardless of how well you position everything else.
The spatial planning work you do in an empty home takes a few hours at most. The alternative — running extension cords, repositioning routers around furniture, dealing with Wi-Fi dead zones for years — is measurably more expensive and more frustrating. If you’re already mapping out room layouts and planning how renovation changes will flow through the space, the same thinking that applies to traffic patterns and natural light applies here — signal doesn’t turn corners any more gracefully than people do.
Once you’ve walked the plan and placed your nodes or access points, run a speed test from each major zone you identified in Step 1 and document the results. That baseline will matter the first time something slows down unexpectedly — you’ll have a real number to compare against instead of a vague memory that “it used to be faster.”