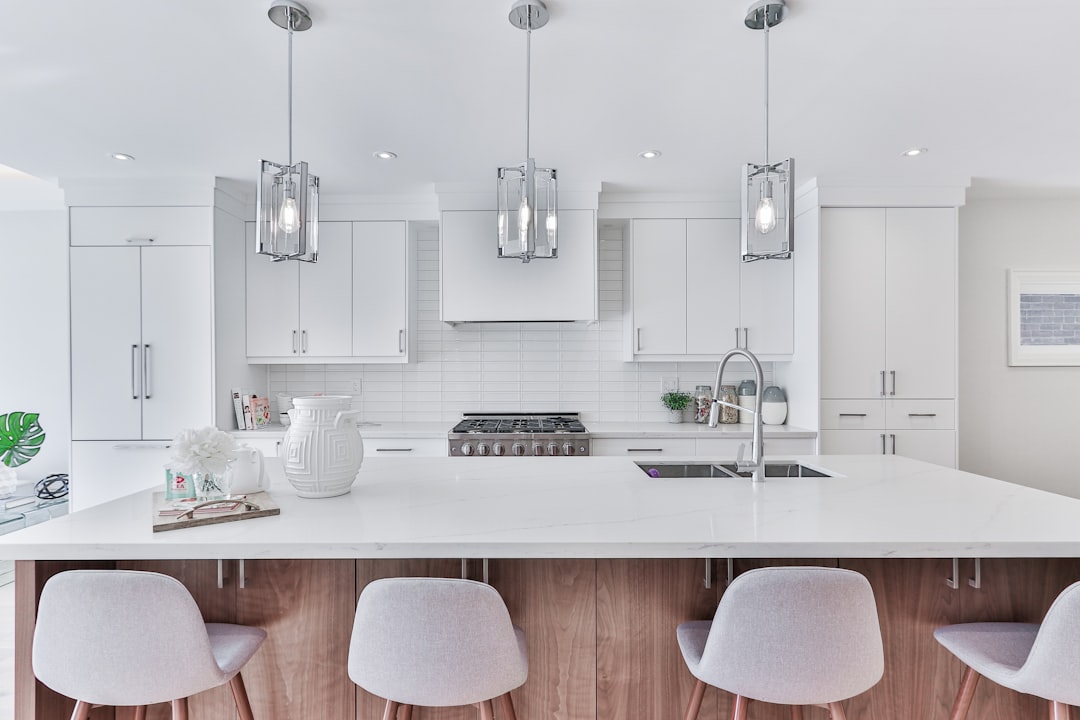
Constraints tend to produce honesty. When you’re designing a guest cabin kitchen with no utility hookups, a tight footprint, and a client who expects the space to function like a real kitchen — not a camping setup — every decision has to justify itself twice. This particular project, an architect-designed off-grid guest cabin, is a useful case study in exactly that kind of disciplined thinking. The kitchen is the cabin’s smallest room and, arguably, its most considered one.
We’ve been tracking small kitchen renovations for a while, and what distinguishes the off-grid examples from conventional compact kitchens is the planning sequence. Standard small kitchens ask: how do we fit the usual components into less space? Off-grid small kitchens ask a harder question first: what does this kitchen actually need to do, and what infrastructure exists to support that? The answers reshape everything — appliance selection, cabinetry depth, countertop material, even which direction the door swings.
Starting with the Infrastructure Audit, Not the Mood Board
Before any layout gets drawn for an off-grid kitchen, someone has to answer four questions in order:
- Power source — solar array with battery storage, generator, propane, or some combination? Wattage ceiling matters immediately.
- Water supply — rainwater collection with filtration, a cistern, a well with a hand pump, or hauled water?
- Wastewater — greywater dispersal, a holding tank, or a composting system?
- Cooking fuel — propane, induction (if solar capacity allows sustained draw), or a small wood-burning unit?
The architect on this cabin started with the power audit before touching the floor plan. The solar system was sized for a modest continuous load — enough for lighting, a 12V refrigeration unit, phone charging, and a water pump, but not enough to run a standard 120V induction burner without a generator supplement. That single constraint eliminated a category of appliance and determined the cooking solution: a two-burner propane cooktop, surface-mounted, with the tank stored in a ventilated exterior compartment built into the cabin’s skirt framing.
That’s not a compromise so much as a clarification. Two burners are sufficient for nearly all cabin cooking; the discipline is in the pantry, not the burner count.
The Layout: 8 Feet of Counter, Used Precisely
The kitchen occupies one wall — roughly 8 linear feet — plus a short return at the window end that holds the sink. Total counter depth is a standard 24 inches, which was a deliberate call: shallower depths (18 inches, sometimes used in micro-kitchens) save floor space but limit usable prep area and make standard under-counter storage awkward. The architect kept full depth and reclaimed floor space by pulling the opposing wall back during framing, giving the aisle a full 42 inches — wide enough that two people aren’t a problem, narrow enough that the space reads as a kitchen rather than a corridor with appliances in it.
Cabinetry is face-frame construction in painted maple ply, built by a local millwork shop. Upper cabinets were eliminated entirely on the main run in favor of open shelving on a single steel rod — lighter visually, easier to spec for a builder working without a full shop setup, and more flexible as storage needs shift. The shelves themselves are 10-inch-deep solid pine, oiled rather than lacquered, which matters in a cabin that may experience humidity swings between seasons.
For anyone working through a similar small-kitchen renovation — on or off the grid — this piece on a tight ’80s kitchen remodel is worth reading for how much perceived space shifts without moving a single wall.
Appliances and Fixtures at Low-Power Scale
The refrigeration unit is a 12V compressor fridge, the kind more commonly found in marine applications, running directly off the battery bank rather than through an inverter. Inverter losses are small but continuous; at the scale of a cabin solar system, eliminating them adds up over a season. The unit holds roughly 2.7 cubic feet — tight, but workable for two to four guests when paired with a small cooler for overflow during longer stays.
Water comes from a rooftop collection system filtered through a two-stage ceramic-and-carbon filter housed under the sink. The pump is a 12V demand pump — it runs only when a tap is open, drawing less than 5 amps. Flow rate is lower than a municipal-pressure tap (around 1 gallon per minute, versus 2–2.5 GPM on a standard residential faucet), which requires a slightly different dishwashing rhythm but is otherwise imperceptible for drinking and cooking.
The sink itself is a single-basin stainless unit, 16 inches by 18 inches, undermount. Smaller than a typical residential sink, but paired with a nearby dish-drying rack built into the countertop — a routed section with a teak grate over a drain channel — it manages cleanup efficiently without needing a double basin.
Lighting overhead is a surface-mount LED strip on a 12V dimmer, with a small adjustable task light clipped to the upper shelf rod above the prep zone. If you’re sourcing task lighting for a space like this, the clip-on light roundup we published covers a range of low-voltage options that work well in exactly this configuration.
Materials: Honest, Maintainable, Replaceable
Countertops are honed concrete, poured in place at 1.5-inch thickness. The mix was locally batched; the architect specified a sealer applied in three coats at installation and notes that the cabin owner should plan for a reapplication every two to three years depending on use. Concrete in a low-traffic guest cabin will hold up differently than in a primary residence — less acid exposure, fewer thermal cycles — so the maintenance interval is likely conservative.
Backsplash is a single piece of 6mm tempered glass, set in a full bed of silicone rather than grout. In a space that may sit unoccupied for weeks at a time in cold weather, grout lines are a liability — they hold moisture, they crack with freeze-thaw movement, and they’re difficult to seal reliably in a space without consistent climate control. The glass panel is one piece, easy to wipe, and straightforward to replace if it ever needs to come out.
Floor is cork tile over a plywood subfloor — warm underfoot, forgiving if something drops, and significantly lighter than any tile option, which mattered for the cabin’s pier-and-beam foundation load calculations.
Budgeting a Build Like This
Off-grid systems add cost in categories that don’t appear on a conventional renovation budget: the solar and battery system, the cistern or collection infrastructure, the propane supply line and exterior compartment. For this cabin, the architect estimated the kitchen-specific spend (millwork, appliances, fixtures, countertop, flooring) at roughly $18,000–$24,000 at the time of build — a range to verify against current material and labor costs in your region, since both have moved considerably in recent years. The off-grid infrastructure cost was budgeted separately and distributed across the cabin as a whole rather than charged against the kitchen line.
If you’re trying to figure out how to fund a project at this scale — a guest cabin addition or a detached structure renovation — it’s worth understanding how financing options differ from a standard interior renovation. Our breakdown of credit card versus HELOC financing covers the key decision points, particularly relevant when the project has a construction phase before any value is realized.
The clearest takeaway from this kitchen: the constraints that look like limitations at the start of an off-grid project are usually just the planning sequence made visible. Start with infrastructure, let the infrastructure define the appliance list, let the appliance list define the layout, and design the cabinetry and materials last — not first. If you’re beginning a similar project, the most useful first step is a load calculation for your power system, not a visit to a tile showroom.