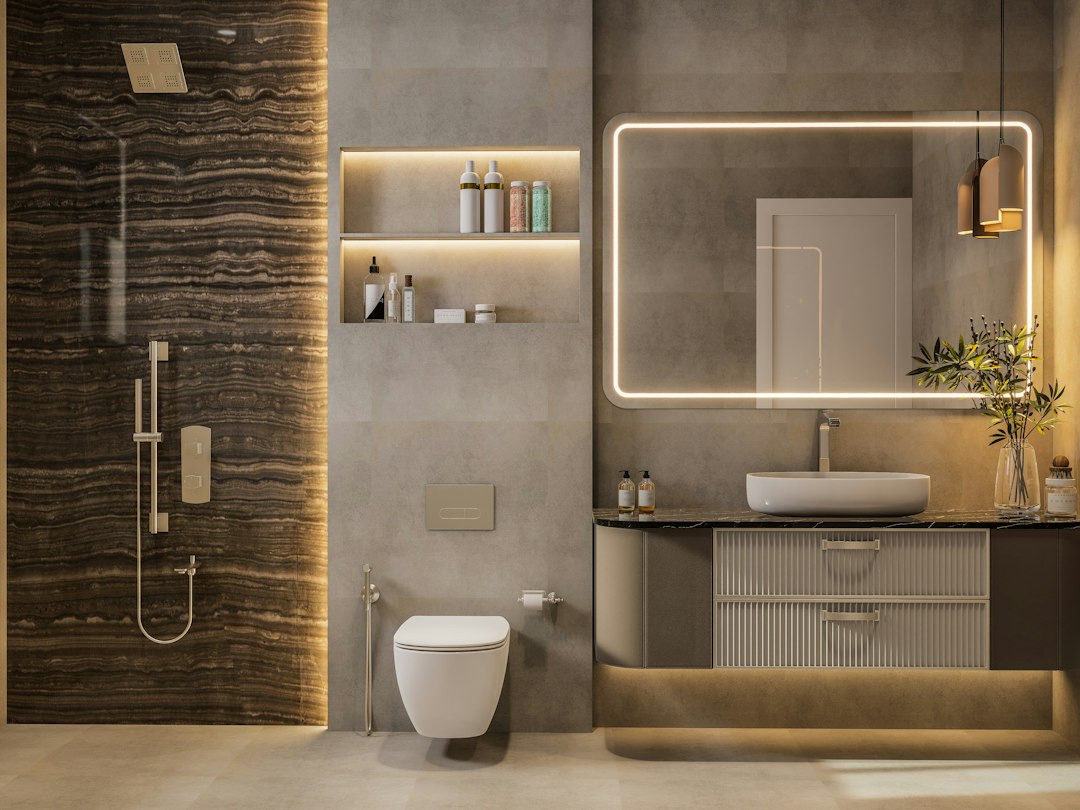
One plumbing move changed the entire logic of this bathroom. Not a gut renovation, not a six-figure contractor bid — just a relocated shower, re-thought from the drain up. The result eliminated the cramped, awkward traffic pattern that made the room feel like a utility closet with good intentions, and replaced it with something that reads as deliberate, even generous.
It’s a renovation decision that more homeowners should consider before they default to resurfacing what’s already there. Moving a shower isn’t the simplest job on the list, but it’s far less disruptive than people assume — and the spatial payoff can be disproportionate to the cost.
Why Shower Placement Dictates the Feel of the Entire Room
Most bathrooms are laid out the way they are because of where the drain stub-out landed during original construction. That’s it. There was no design philosophy behind the corner tub-shower combo in your 1987 split-level — a plumber made a practical call, and every subsequent owner has arranged furniture and towel bars around it.
When you step back and treat the bathroom as a spatial planning problem rather than a surface-finish problem, the shower’s location is often the first thing that looks wrong. A shower tucked behind the door creates a pinched entry path. One shoved against the vanity wall means the mirror fogs before you’ve finished rinsing. Repositioning it — even 24 to 36 inches — can open up a wet zone that reads as a room within a room, which is the core idea behind spa-style bathroom design.
The homeowner in this case moved hers from a corner adjacent to the toilet to the far exterior wall, where a small window had been wasting its light on a storage shelf. That one decision accomplished three things at once: it pulled natural light into the shower enclosure, it separated the wet zone from the vanity completely, and it gave the toilet its own visual niche rather than crowding the layout’s center.
What the Actual Work Involves
Relocating a shower requires extending the drain line to the new location — typically a 2-inch pipe for a shower-only enclosure — and rerouting the supply lines for hot and cold. If you’re on a slab foundation, that means cutting concrete, which adds cost and time. On a wood-framed subfloor, it’s considerably more straightforward: a plumber can often extend or reroute lines in a day, with tile work following once the rough-in is inspected and approved.
Rough costs for this kind of relocation vary considerably by region and by how far the new drain location sits from the existing stack. A ballpark range to verify against current local quotes might look like this:
| Work Component | Estimated Range (verify locally) |
|---|---|
| Drain relocation (wood subfloor) | $400 – $900 |
| Drain relocation (concrete slab) | $1,200 – $2,800 |
| Supply line rerouting | $300 – $700 |
| Shower pan or liner, new location | $200 – $1,500+ depending on material |
| Tile, fixtures, and enclosure | Wide range — budget separately |
These are planning figures, not quotes. Pull at least three bids from licensed plumbers in your area and make sure whoever you hire is pulling the proper permit — a relocated drain that doesn’t get inspected can complicate a sale years later. The most expensive renovation mistakes happen before construction starts, and skipping the permit process on a plumbing relocation is a textbook example.
The Finishes That Sold the Spa Effect
Moving the shower created the right bones. The finishes made it convincing.
A few specific choices made the difference here:
- Large-format tile with minimal grout lines. She used 24×48-inch porcelain panels — fewer grout joints, easier to keep clean, and the visual continuity makes the enclosure feel larger than its footprint. If you’re currently shopping tile and want to avoid anything that might date the space, it’s worth reading 5 bathroom tile trends you’ll regret in 5 years before committing.
- A linear drain running the full width of the entry. This eliminated the sloped-to-center floor that pushes water (and visually, the eye) toward an awkward central point. A linear drain lets the floor tile run flat and continuous, which reads as polished.
- A frameless glass panel instead of a door. A single fixed panel with a 6-inch gap at one end — no track, no hinges to collect mildew — opened the sightline from the bathroom entry straight through to the window. This is the move that most strongly signals “spa” in photographs and in person.
- A thermostatic valve set at 104°F as the default. Small detail, but it matters for daily use: a thermostatic system maintains temperature precisely rather than requiring you to re-dial it every morning. The valve body was installed with two volume controls — one for the wall-mounted showerhead, one for a hand shower — giving the enclosure flexibility without adding complicated plumbing.
On the Window
Natural light into a shower is worth protecting. Rather than frosted glass (which diffuses light while blocking it), she used a reeded or ribbed glass pane — it scatters the light while maintaining privacy. The effect inside the enclosure at midday is genuinely different from anything a recessed can fixture achieves. If you’re working around an existing window, check that your framing contractor uses moisture-resistant sheathing and that the window unit is rated for wet-area installation — standard window flanging in a tile shower is a future water-intrusion problem.
Thinking Through the Layout Before Anything Gets Cut
The single most useful step before committing to a new shower location is drawing it full-scale. Not on graph paper — on the floor. Use painter’s tape to outline the new enclosure footprint, mark where the door swing or panel opening would land, and live with it for a day or two. Walk around it. Open and close the vanity. Check whether the toilet paper holder suddenly ends up inside your wet zone.
A laser measure gives you accurate dimensions to the millimeter, which matters when you’re ordering a custom shower pan or specifying a linear drain to match the entry width exactly. Standard tape measures flex around corners; for anything involving a tile layout, every ¼ inch counts.
If you want to model a few layout scenarios before calling a contractor, our bathroom layout calculator lets you plug in your room dimensions and test different fixture positions without committing to tape on the floor. It won’t replace a site visit from a plumber, but it’s a useful way to pressure-test a relocation idea before anyone picks up a jackhammer.
The Next Step Worth Taking This Week
Before you call a plumber, identify where your bathroom’s existing drain stack runs — it’s usually in an interior wall. Then measure the distance from that stack to your proposed new shower location. Every additional foot of horizontal drain run requires a specific drop (typically ¼ inch per foot for proper slope), which determines whether your new drain can tie in cleanly or whether you’re looking at a more involved rerouting job. That measurement takes ten minutes and will make your first conversation with a contractor immediately more productive.