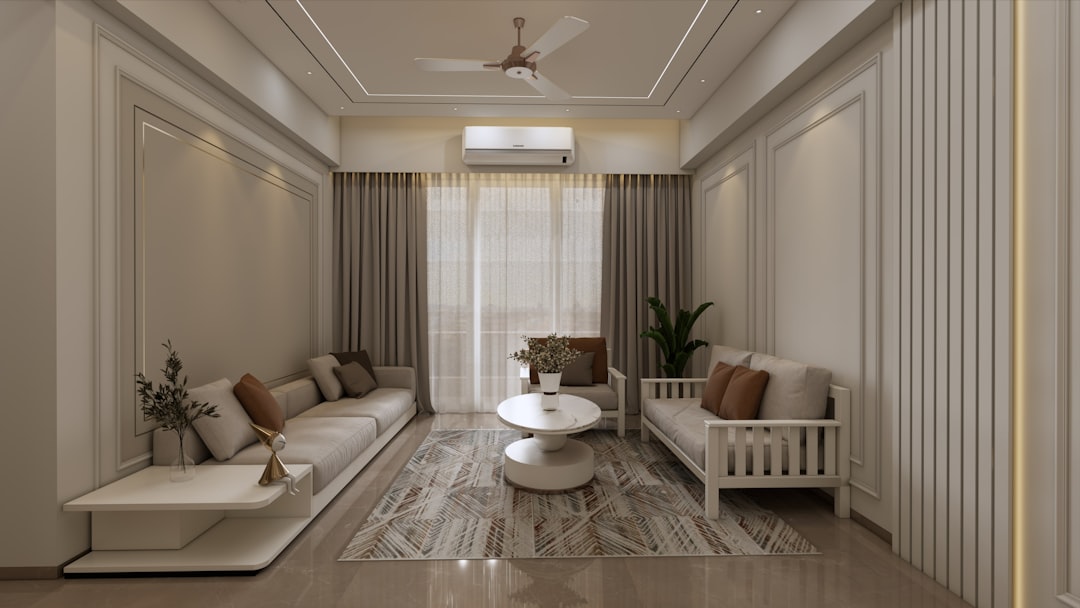
A 500-square-foot studio apartment is already a tight proposition for someone who just sleeps and eats there. Add an active art practice — with paints, canvases, drying surfaces, reference materials, and the general productive chaos that creative work generates — and you have a spatial planning problem that most standard layout advice doesn’t cover. The usual small-space playbook (murphy bed, open shelving, mirror on the wall) wasn’t built for someone who needs a six-foot work table and enough floor clearance to step back and actually look at what they’re making.
What follows is a close read of how that problem gets solved when you approach it as a real zoning exercise rather than a decoration project.
Start by Mapping What Actually Happens in the Space
Before buying a single piece of furniture, the most useful thing a working artist can do is audit their activities by physical footprint and time-of-day pattern. These aren’t the same thing.
A canvas might need 20 square feet of floor space while it’s being worked on, but it only needs wall inches once it’s dry. A drawing table requires close proximity to good light during the day; at 10 PM it’s essentially dead storage. The kitchen is active for maybe 90 minutes a day. Understanding that time dimension is what lets a 500-square-foot floor plan actually function as two rooms.
The practical method: spend a week marking on a rough floor-plan sketch where you actually stand or sit during each task. Not where you intend to, where you do. Most people discover three or four overlapping “hot zones” that could be consolidated, and several underused areas — often corners and the space just inside the front door — that are taking up square footage without doing any real work.
Once you have that picture, measure everything with a laser measure rather than a tape (a laser unit reads to the millimeter and eliminates the assistant-holding-the-other-end problem). Enter the dimensions into a floor-plan app at 1:50 scale before you move anything. Rearranging furniture in a digital plan takes ten seconds; rearranging an actual bookshelf that turned out to be a quarter-inch too wide takes an afternoon.
Zone the Floor Plan Like a Small Commercial Space
The most effective live-work studios treat the apartment less like a home with a corner for art and more like a small commercial fit-out with a sleeping alcove attached. That mental shift changes every decision.
In practice, it means defining hard zones:
- Work zone: maximum natural light, accepts mess, close to a utility sink if possible, flooring that handles dropped paint or solvent
- Living zone: comfortable seating, controlled clutter, can be tidied in under ten minutes when needed
- Sleep zone: minimum footprint, maximum acoustic and visual separation from the work zone
- Storage zone: usually vertical, distributed near the point of use rather than consolidated in one closet
The boundary between work and living zones is where most people go wrong. A folding partition that takes three minutes to deploy is effectively never used. What actually works is a fixed visual boundary — a tall shelving unit, a change in floor material, or a deliberate shift in ceiling treatment — that signals “different room” without requiring action.
For a parallel look at how architects have managed similar constraints, the planning logic in this 527-square-foot two-person home is worth studying, particularly the way sight lines are managed to make each zone feel complete rather than like a fragment of something larger.
Solve the Lighting Problem as Infrastructure, Not Afterthought
An artist working from a home studio has non-negotiable lighting requirements that a standard apartment doesn’t come close to meeting. Overhead fixtures designed for comfortable evening ambiance produce exactly the wrong conditions for color-accurate work: warm color temperature (typically around 2700K), directional shadows, and low CRI (Color Rendering Index) values that make pigments look different on the canvas than they will in daylight.
The fix is layered, and it needs to be planned into the zone layout rather than patched in later.
For the work zone specifically: north-facing windows are the gold standard for consistent, non-directional daylight, but most apartments don’t give you that choice. The practical alternative is a combination of high-CRI task lighting (look for CRI 95+ panels or daylight-balanced LED strips in the 5000–5500K range) positioned to minimize shadows from your working hand, and a secondary warm source for the rest of the space that you switch off when doing critical color work.
Clip-on and clamp-mount lights earn their place here — they let you reposition task lighting as the work changes without rerouting wiring. We’ve covered the practical range of what’s available in our clip-on lighting roundup, which includes options calibrated well enough for detail work.
One often-missed detail: the wall behind and beside the work surface matters as much as the fixture. A highly saturated wall color (deep red, forest green) will cast a color tint onto anything you’re working on under artificial light. Neutral gray or warm white is the working studio default for a reason.
Storage That Doesn’t Collapse the Floor Plan
A working artist accumulates materials at a rate that can silently consume every available surface within a few months. The answer isn’t more storage as such — it’s storage that is physically separated from the work surface and indexed well enough that you don’t have to dig through it during the creative process.
Two approaches that consistently work in sub-600-square-foot plans:
Vertical stacking with fixed depth. Wall-mounted shelving that runs to the ceiling at a consistent depth of 10–12 inches holds a significant amount of flat goods (paper pads, canvas panels, reference books) without protruding into walkways. The key detail is keeping the depth consistent — mixed-depth shelving looks chaotic and makes inventory harder to see at a glance.
Mobile underbed storage for bulk supplies. A platform bed raised 12 inches off the floor on a simple box frame creates usable lateral storage for large canvas rolls, stretched canvases waiting to be primed, or seasonal supplies. This keeps bulk material out of the work zone without requiring a dedicated storage room.
The lofted bed approach pushes this further — sleep surface elevated enough to create a genuine zone below it. The lofted bedroom roundups in the small-space category show how much usable volume that can recover in a studio layout, provided ceiling height is at least 9 feet.
The One Planning Decision That Affects Everything Else
Where you put the work table is the single most consequential spatial choice in a live-work studio. It determines the path of natural light, it anchors the zone layout, and it sets the minimum clearance you need in every direction — typically 36 inches behind a standing work position, 18 inches on each side for material handling, and unobstructed sightlines to wherever finished or in-progress work will hang.
Get this placement wrong and every other optimization compensates for it at a cost. Get it right and the rest of the furniture finds its position without much argument.
Before you commit, trace the light arc across the work surface at different times of day. If your primary work session is 9 AM to 1 PM, that’s the light angle that matters. A table placed 18 inches from its current position might make the difference between workable north-facing bounce light and direct sun glare on your surface every morning.
Run the room dimensions through a floor-plan calculator before moving anything — even a rough square-footage breakdown by zone can reveal whether you’re allocating proportionally or whether the sleep zone is quietly consuming 40% of your floor plan while the work zone is left with the remainder.
The goal in a 500-square-foot studio isn’t to make it feel bigger. It’s to make every square foot intentional enough that the size stops being the thing you’re managing.