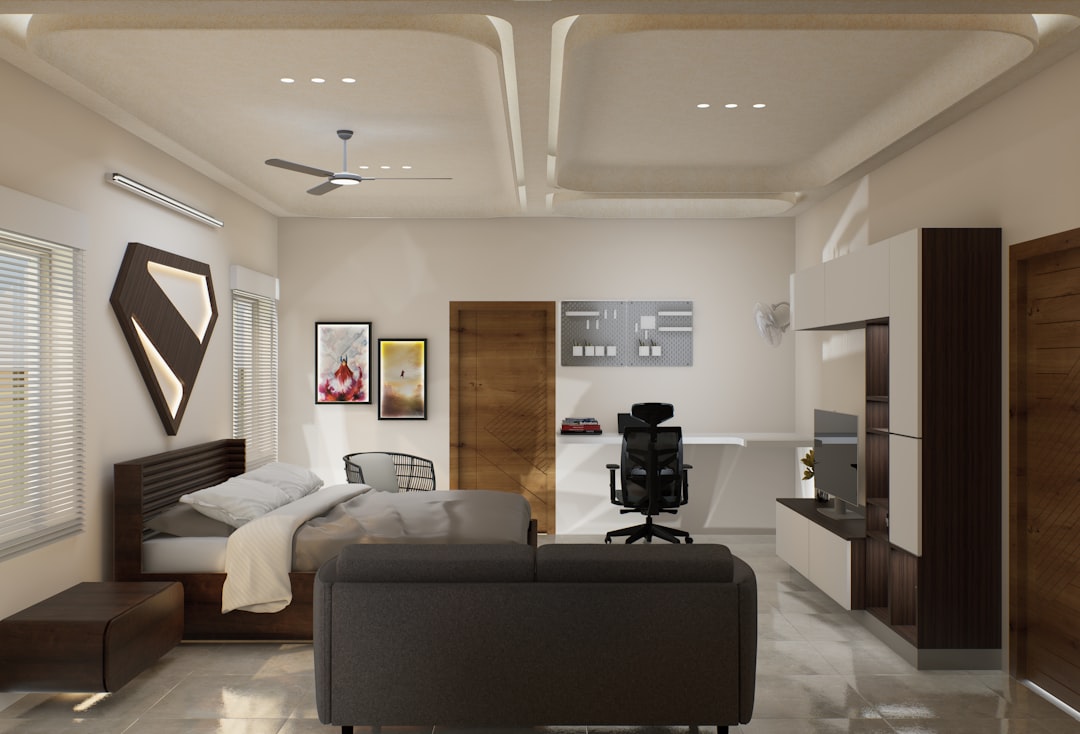
Craftsman houses were built for a different pace of life. The guest room — often tucked at the end of a hall, lit by a single east-facing window, furnished with a bed that got slept in maybe six nights a year — is a relic of that era’s hospitality priorities. In most households today, it earns its square footage about as well as a storage unit you can’t access from the highway.
The transformation we’re walking through here isn’t a gut renovation. It didn’t require permits, a contractor, or a weekend marathon of demolition. What it required was about two hours of careful measurement, a floor plan sketch on graph paper, and a willingness to ask a harder question than “what furniture should I buy?” The question was: what does this room actually need to do?
Start With a Tape Measure, Not a Mood Board
Before anything else, pull out a steel tape measure — not a fabric one, and not a phone-based AR tool that rounds to the nearest inch. Measure the room in three passes: floor-level width and length, height from subfloor to ceiling (including any drop from crown molding), and every architectural interrupt: door swing radius, window sill heights, baseboard depth, and the distance from each outlet to the nearest corner.
In a Craftsman-era room, those details matter more than they would in a builder-grade box. Craftsman homes routinely feature built-in bookshelves that eat six to ten inches of usable depth, window placements that are centered off-axis from the room’s midpoint, and ceilings with a shallow slope toward the eaves that limit where a tall piece of furniture can actually stand. Record everything in a single dimensioned sketch — even rough graph paper at ¼” = 1’ scale is enough to start moving furniture on paper instead of on your back.
The room in this case measured 11’4” × 12’8”, with a window centered on the north wall and a closet door on the east. The existing layout had a queen bed centered under the window (blocking the only decent light source), a dresser jammed between the closet door and the corner, and a narrow path to the single outlet on the south wall. Total usable floor area outside of furniture footprints: roughly 28 square feet.
Redefining the Program
“Guest room” is a program. So is “home office,” “reading room,” “creative studio,” and “overflow flex space.” The mistake most people make when converting an underused room isn’t choosing the wrong furniture — it’s trying to serve too many programs simultaneously without designing for any of them explicitly.
The decision here was to run three functions: overnight guests (low frequency, high priority when it happens), daily focused work (primary function), and a small zone for physical activity or stretching that didn’t require any permanent equipment. The overnight guest use dictated a daybed or sleeper sofa rather than a full queen frame. That single swap recovered roughly 14 square feet of floor area.
Here’s how the three zones shook out once the measurements were applied:
- Work zone: 60” × 24” desk running along the south wall, positioned to keep the window light at an oblique angle rather than directly behind the monitor. Two VESA-mounted monitor arms meant no footprint beyond the desk surface itself.
- Guest sleeping zone: An 80” × 38” daybed frame on the west wall, with the long axis parallel to the wall rather than projecting into the room. Clearance from desk chair to daybed edge: 44 inches — enough to roll back and stand without rearranging anything.
- Open zone: The 7’ × 5’ area between the daybed and the door, kept completely clear. No rug with furniture legs pinning it down, no side tables drifting into the path.
If you want to test whether your own room can support a similar split, our room layout calculator approach — running the dimensions through the three-zone model on paper first — catches conflicts before you move anything physical.
The Closet Was Half the Problem
Craftsman closets are often shallow: 18 to 22 inches deep is typical, compared to the 24-inch standard depth modern closets assume. A closet designed to hold a guest’s weekend bag doesn’t need to function the same way a primary bedroom closet does.
In this room, the closet was repurposed with a simple, reversible reorganization: the upper rod was left for hanging guest items, but the lower third of the space was converted to open shelving using two painted pine boards on adjustable shelf pins — a $30–$45 material cost, confirm local pricing. Those shelves now hold the office supplies, paper, and equipment that would otherwise creep onto the desk surface or pile up in corners. A pegboard panel on the inside of the closet door, mounted with ¾” standoff blocks to clear the door hardware, added another 4 square feet of vertical storage without touching the walls.
For anyone working with an even shallower or more awkward closet footprint, these approaches to extracting storage from small closets apply directly to Craftsman-era proportions.
Lighting Made the Difference
The single overhead fixture — a period-appropriate bowl pendant that cast warm, low-directional light — was fine for ambiance and useless for work. Rather than rewiring, the solution was layered task lighting added to existing circuits.
A clip-on task lamp on the monitor arm gave direct desk illumination without adding another surface object. A second lamp — a small articulating wall-mount style on a cord, plugged into the south wall outlet — handled reading light for the daybed without requiring a side table. The ceiling fixture stayed as ambient fill. Three sources, two existing outlets, zero new wiring. The clip-on lamp format earns its place specifically in older homes where outlet placement is sparse and wall switches are in inconvenient locations relative to the new furniture arrangement.
A Note on Paint and the Craftsman Palette
The existing room had off-white walls that had gone slightly yellow. Rather than a full repaint, the north wall — behind the daybed — got a single coat of a warm medium-tone, roughly in the sage-to-eucalyptus range, which reads as intentional contrast without making the room feel smaller. The remaining three walls stayed a clean warm white. Total material cost for that change: under $50 including primer, assuming a single gallon is sufficient for one accent wall.
The Result in Practical Terms
After the rearrangement, the usable floor area outside furniture footprints went from 28 square feet to roughly 52 square feet — nearly double — without removing a single piece of load-bearing structure or filing a permit. The room now functions as a daily workspace five days a week, handles guests without any reconfiguration beyond pulling out the daybed’s trundle, and has a clear area large enough for a yoga mat.
The total out-of-pocket cost for the transformation (daybed frame, shelf pins, pine boards, pegboard, two lamps, one gallon of paint) came to somewhere in the $400–$700 range depending on where the daybed was sourced — verify current furniture pricing, since that category swings significantly. No contractor, no structural change, no lost weekend.
The concrete next step: before you order a single piece of furniture, draw the room to scale on graph paper at ¼” = 1’. Mark every door swing, every window sill height, and every outlet. Cut out scaled paper rectangles representing each piece you’re considering and physically move them around the drawing. It takes 45 minutes and will tell you more than any room-planning app that doesn’t account for Craftsman-era architectural irregularities.