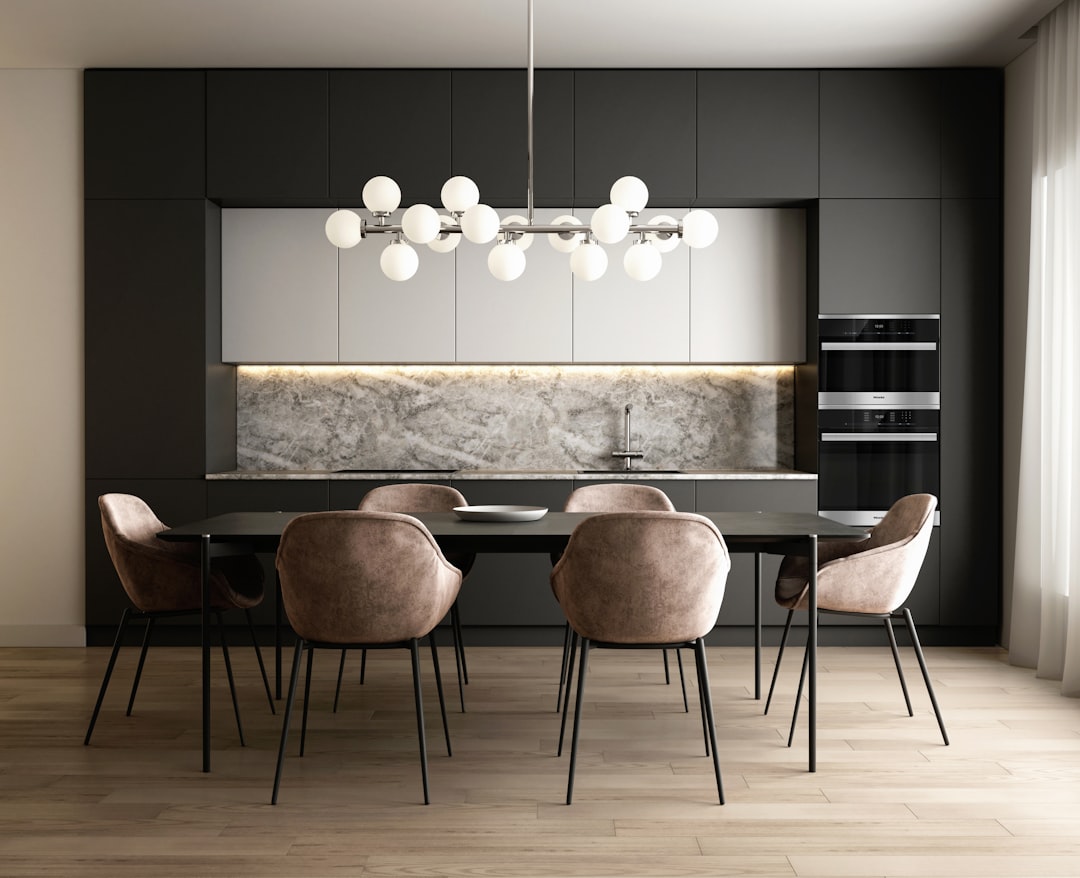
There’s a counterintuitive move that comes up repeatedly in kitchen renovations: the room feels dim and closed-in, so the instinct is to go lighter. White cabinets, pale counters, reflective hardware. And sometimes that works. But sometimes it produces a kitchen that looks bleached and generic — bright without being interesting, open without any warmth.
The renovation we’re examining here went the other direction. A kitchen that was already getting limited natural light, with low ceilings and dark laminate flooring that absorbed what daylight existed, got a set of deep teal cabinets. The result wasn’t a room that felt smaller or heavier. It felt intentional for the first time.
Understanding why that worked — and how to execute a similar approach without gambling on a color you can’t take back — is what this piece is about.
Why Dark Colors Sometimes Fix Dark Rooms
The logic sounds wrong, but it holds up. When a room is dim and the existing finishes are a mixture of faded mid-tones — beige laminate cabinets, off-white walls, yellowed grout — there’s no visual hierarchy. Everything reads as equally dull. Adding a strong, saturated color doesn’t make the room darker in a functional sense. It gives the eye something to anchor to.
Dark teal specifically occupies a useful position on the color spectrum. It reads as cool in warm artificial lighting and as rich and green-adjacent in daylight, which means it shifts in a way that works with both conditions rather than fighting them. Compared to navy, it carries more life at low light levels. Compared to forest green, it stays crisp and doesn’t muddy.
The renovation here replaced flat, builder-grade upper and lower cabinets with painted MDF replacements — not solid wood, which would have pushed the budget considerably higher. The paint color was a deep teal with enough gray in the mix to prevent it from reading as bright or playful. Think closer to a vintage-map-ink color than a Caribbean-resort shade. Getting that gray component right matters: a teal that runs too pure or too warm will look like a design statement that dates quickly.
The Cabinet Work: What Actually Changed
New cabinet boxes were installed in the same footprint as the originals. No walls moved, no plumbing shifted. This matters because moving even one drain line or vent stack can add several thousand dollars to a project budget — verify any such change with a licensed plumber and factor it into your planning before you commit.
The upper cabinets kept their original position, and the lowers gained a slightly thicker drawer front profile, which gave the whole run a more furniture-like quality. Hardware was brushed brass — not polished, which would have felt trendy and brittle, but a warm satin finish that reads as deliberate next to the cool teal.
Countertops went to a honed white quartz, which diffuses rather than reflects light. Glossy counters would have created harsh glare points under the overhead fixtures; honed surfaces spread the light more evenly across the workspace. This distinction is small in a showroom and significant in daily use.
One detail worth noting: the backsplash stayed simple — a white elongated subway tile in a brick pattern, set with a slightly recessed grout line rather than a proud one. That choice keeps grout from becoming a visual texture that competes with the cabinet color. Backsplash upgrades like this one can easily be completed as a standalone project, which is worth considering if phasing the budget over time.
Lighting: The Part That Made the Color Land
New cabinets in a strong color will not save a kitchen that is lit badly. This is where many otherwise solid renovations fall short.
The renovation added two layers of lighting:
- Recessed LED fixtures in a 2700K color temperature (warm white, not the blue-shifted 4000K that flattens color) on a dimmer circuit
- Under-cabinet LED strips at 2700K–3000K, flush to the front edge of the upper cabinet base, throwing light onto the counter and the backsplash tile
The warm temperature was chosen deliberately to work with the teal rather than neutralize it. A 4000K source would have grayed out the cabinet color and made the brass hardware look greenish. Run any new fixture wiring before tile or backsplash goes in — retrofitting under-cabinet wiring after tile installation means cutting channels or running surface conduit, neither of which is elegant.
If you’re not ready to rewire but want to test how additional light changes the character of your cabinets before committing, clip-on and plug-in task lights can serve as a proof-of-concept while the renovation is still in the planning stage.
Cost Planning for a Repaint-and-Reface Approach
If the bones of existing cabinets are sound — the boxes are square, the drawers slide without binding, the hinges haven’t pulled away from the substrate — a paint or reface approach costs significantly less than full replacement. Rough ranges to verify locally: professional cabinet painting can run anywhere from $1,500 to $5,000+ for a mid-sized kitchen, depending on prep requirements, number of doors, and finish quality. A full reface with new doors and drawer fronts will typically sit higher. Full replacement, as executed in this renovation, is the most expensive path and makes the most sense when the box dimensions, door style, or layout genuinely need to change.
Before getting any quote, measure every cabinet run with a laser measure and note the door count and drawer count separately. Painters and refacers price on door and drawer fronts, not linear feet — a kitchen with many small upper cabinets will price differently than one with four large doors. Our room dimensions calculator can help you establish accurate square footage for the space before vendor conversations start.
Whatever path you choose, build in a contingency of 10–15% for surprises. Older kitchens regularly reveal delaminating substrate, water damage near the sink, or off-square walls once the process begins.
What to Do Before You Pick a Paint Chip
Choosing a color from a fan deck under fluorescent showroom lighting is one of the least reliable ways to make a cabinet color decision. Here’s a more dependable sequence:
- Order 2–3 large paint samples (some brands offer 8”×10” peel-and-stick cards) in your candidate teals and pin them to actual cabinet doors
- Observe them over at least three days, at morning light, midday, and under your existing evening lighting
- Photograph them with your phone under each condition — your eye adapts; the photo doesn’t
- Only after step 3, decide whether you need to adjust the gray content or the blue-green balance
If you’re financing a larger kitchen overhaul, it’s also worth thinking through the right funding vehicle before signing any contractor agreements. Credit cards versus HELOCs have meaningfully different cost structures depending on your timeline and how much flexibility you need.
The actionable next step here is concrete: pull your cabinet door count, your exact room dimensions, and your three-day color sample results together into one document before you call a single painter or cabinet maker. Every quote you receive will be more accurate, and you’ll be in a better position to evaluate whether the numbers reflect the actual scope.