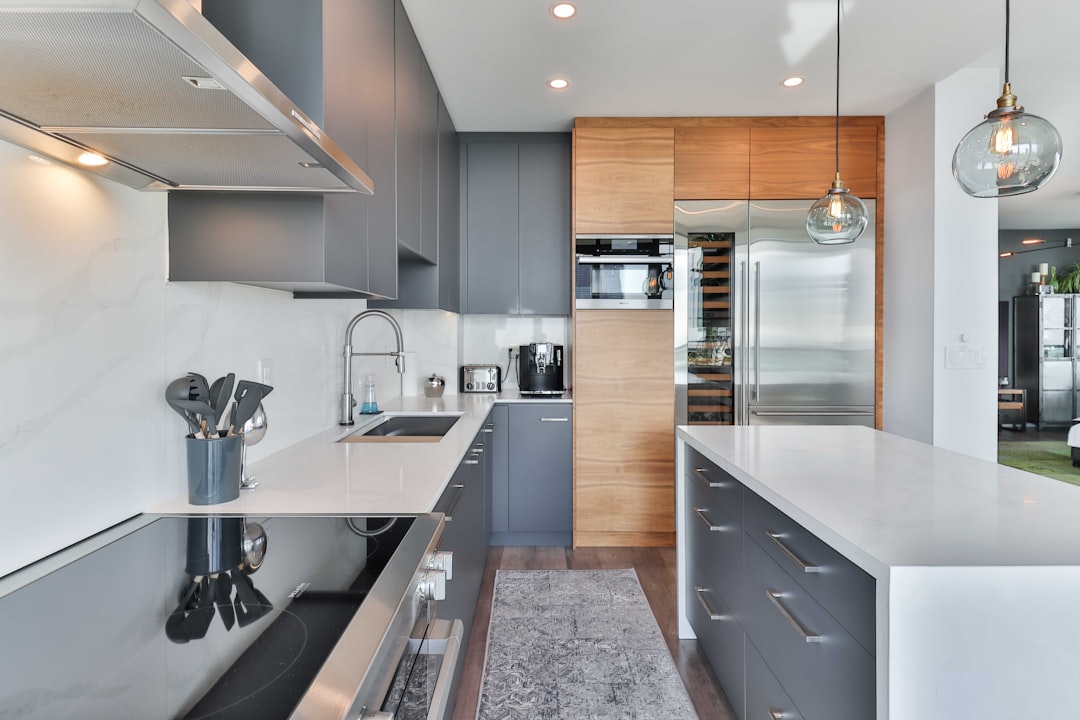
There’s a particular kind of frustration that comes with a galley kitchen in an older home — the layout is non-negotiable, the square footage is fixed, and yet somewhere in that narrow corridor there’s almost always a stretch of wall doing absolutely nothing. In our case: 42 inches of painted plaster between the end of the upper cabinet run and the doorframe to the back hallway. No outlet, no window, no natural stopping point for anything. Just wall.
Turning that stretch into a genuine storage system took about three weekends, a few hundred dollars in materials (confirm current pricing locally — lumber and hardware costs swing significantly by region and season), and more careful measuring than we expected. Here’s what that process actually looked like, and what we’d do differently.
The Problem With “Just Add Shelves”
The instinct with dead wall space is to mount a few floating shelves, call it done, and fill them with things you barely use. That approach fails in a galley kitchen for a specific reason: depth. Standard floating shelf brackets for 10- or 12-inch shelves position items too far from reach in a narrow corridor — you’re now turning sideways to get past a protruding olive oil bottle. Every inch of shelf depth that projects into the walkway costs you something.
We started by measuring the available aisle width at its tightest point using a laser measure rather than a tape. The reading came back at 43.5 inches — tight but workable. After some research on ergonomic kitchen clearances (the general guidance for a functional single-cook galley is 42 inches minimum; two cooks want closer to 48), we knew we had maybe 4 to 5 inches of projection to play with before things got awkward.
That constraint actually made the design decision for us.
Going Shallow on Purpose
Four-inch-deep shelving sounds limiting until you realize what a kitchen actually stores: spice jars (most are 2.5 to 3 inches in diameter), small cans (around 3 inches), flat cutting boards, boxed dry goods standing on edge, and hooks for utensils and towels. A shallow shelf system handles all of that cleanly. Nothing is hidden behind anything else. It’s a legitimate organizational upgrade over deep cabinet storage, where things disappear behind other things and get forgotten until they expire.
We framed the shelving unit as a built-in rather than a freeware assembly, using 1x6 poplar boards ripped down to 4.5 inches on a table saw. Poplar takes paint well and is widely available at home centers, which mattered because we wanted to match the white semi-gloss on the existing upper cabinets. (If you’re doing any cabinet color work alongside a project like this, the article on dark teal cabinets and dramatic kitchen transformations is worth reading for a before/after that puts the impact of paint decisions in context.)
The vertical supports were anchored directly into studs — in a 1930s plaster wall, finding studs meant using a magnetic stud finder for the lath nails, then confirming with a small finish nail probe rather than trusting the finder alone. Old construction doesn’t always cooperate with modern tools.
What the Build Actually Involved
Here’s the sequence we followed, condensed to the steps that matter:
- Mark stud locations across the full 42-inch span; in our wall, studs were on 16-inch centers — standard, but verify before you commit to any bracket placement
- Cut vertical side rails from 1x6 at full wall-height minus ¼ inch for clearance; level them plumb before fastening
- Dado or notch horizontal shelves into the verticals if you want a clean flush look; we used a router with a ¾-inch straight bit set to ⅜-inch depth for a half-lap effect
- Mount the assembly as a unit rather than shelf by shelf — pre-assembling on the floor and then lifting into place keeps everything square
- Fill gaps at the top with a scribed cove molding to match the cabinet crown already in the kitchen; this step alone is what makes a built-in look like it belongs rather than like it was added later
- Prime, sand with 220-grit, prime again, then topcoat — two coats minimum in a kitchen where grease is airborne
Total depth of the finished unit off the wall face: 4.75 inches. That left us well over 38 inches of clear aisle, measured after installation.
The Detail That Gets Overlooked: Lighting
A shallow shelf in a galley kitchen sits in its own shadow half the day. We added a short run of low-voltage LED strip lighting — the warm 2700K variety, mounted in an aluminum channel along the underside of the top shelf — and it changed how the whole end of the kitchen reads. The area that used to be a dead corner now reads as a finished display wall even when it’s holding nothing more interesting than canned tomatoes.
If you’re evaluating clip-on or plug-in options before committing to hardwired lighting in a similar project, the 10 Easy Pieces: Clip-On Lights roundup covers the category in useful practical detail.
What the Wall Holds Now
The finished unit has seven shelves at variable spacing — three tighter gaps (4 inches clear) for spice jars, two medium gaps (6 inches clear) for cans and small containers, and two wider bays (10 inches clear) for cutting boards stored vertically and a small countertop appliance that previously lived on the counter itself, eating workspace.
That appliance migration is worth flagging separately: moving one item off the counter and onto a dedicated shelf returned about 14 inches of linear counter space. In a galley kitchen, that’s not a minor improvement — that’s a second prep zone.
We also added four cast-iron hooks along the bottom rail of the lowest shelf for a dish towel, a silicone potholder, a bottle opener, and a small colander. All items that used to end up in a drawer where they tangled with everything else.
Before You Commit to a Similar Project
A few things worth confirming before you start buying materials:
- Check for hidden utilities. In a 1930s home, it’s not unusual to find knob-and-tube wiring routed through unexpected wall cavities. An inexpensive non-contact voltage tester at every stud bay before you drill is the right call.
- Verify plaster thickness. Old lime plaster can run ¾ inch to 1 inch thick compared to ½-inch drywall. Your fastener lengths need to account for this — a screw that would be fine for drywall may barely be biting into the stud on a plaster wall.
- Get the finish coat right. A semi-gloss or satin finish in a kitchen is the standard recommendation for moisture and cleaning durability; flat paint will look tired within a year in that environment.
- Photograph the wall cavity with a borescope or a phone camera through a small probe hole before closing anything up permanently.
If you’re weighing how to finance a series of smaller kitchen improvements like this rather than one large overhaul, the Credit Card vs. HELOC for Home Improvement piece lays out the tradeoffs in a way that’s directly applicable to incremental renovation projects.
Your next step: measure your own candidate wall with a laser measure, record the stud spacing, and calculate your maximum safe shelf depth given the aisle clearance you can’t afford to lose. That number will tell you immediately whether you’re looking at a standard shelf project or whether — like us — you’ll need to go deliberately shallow and let the constraint become the design.