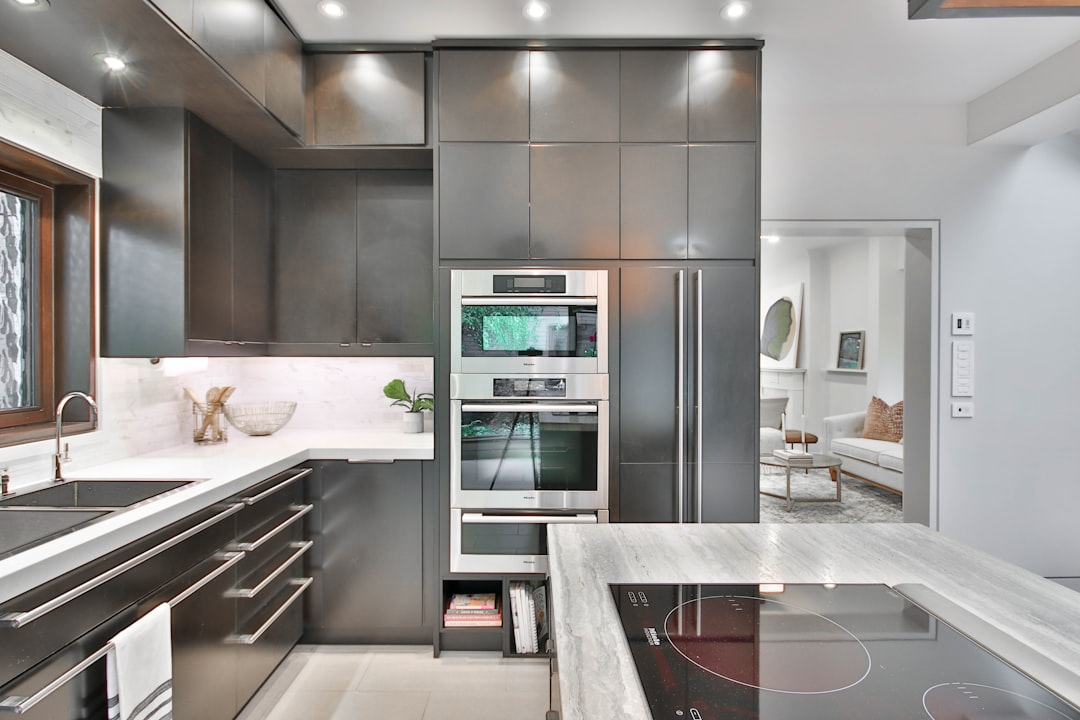
Sixty square feet. That’s the kind of number that makes most home cooks flinch, but it’s also the kind of constraint that forces genuinely clever decisions rather than incremental ones. The Brooklyn kitchen we’re pulling ideas from this week — a shared urban cookspace retrofitted into what used to be a storage room — runs on a galley layout, one induction burner, and a custom shelving system built almost entirely from a single IKEA cabinet line. Every inch is accountable. That’s exactly why it’s worth reverse-engineering.
Five ideas follow. Some are structural, some are furniture-based, one is almost embarrassingly cheap.
1. Treat the Backsplash as a Tool Wall
In a kitchen too narrow for upper cabinets, the stretch of wall between the counter and the ceiling isn’t decorative real estate — it’s the only vertical storage you have. The Brooklyn cookspace uses heavy-duty pegboard panels cut to fit between existing tile runs, then finished with a thin wood border that makes them read as deliberate rather than provisional. The pegboard is painted the same white as the wall, so the whole assembly recedes.
The functional payoff: every pot, ladle, small cutting board, and oil bottle lives at eye level instead of stacked in a drawer. When you need something, you don’t open anything. In a kitchen where two people can barely stand side by side, eliminating the reach-and-rummage motion matters.
Before you cut pegboard to fit, dry-fit the panel first and mark where your studs or concrete anchors land — the temptation to hang a heavy cast-iron skillet on a pegboard that’s only secured by drywall anchors will end badly, usually during dinner.
2. The IKEA SEKTION Hack That Actually Holds Up
The base cabinet situation here is the one element worth calling out specifically. Rather than buying a standard 24-inch-deep cabinet run, the designers used IKEA SEKTION 15-inch-deep wall cabinets mounted at counter height, with a custom butcher-block top cut to 18 inches deep and secured with L-brackets. This shaves six inches of floor-to-counter depth off the entire run — which, in a 7-foot-wide galley, opens the walking channel from a tight 32 inches to a workable 38.
The modification requires some patience with the SEKTION’s internal shelf pin holes (they’re spaced at 32mm increments, not the 37mm that some tutorials state — verify against the actual product spec before you buy shelf pins separately). The cabinet doors swing clear of the aisle only because they used a 165-degree concealed hinge rather than the standard 110-degree version that comes in the box.
For anyone running their own numbers on this kind of hybrid counter-cabinet build, our layout calculator approach of measuring walking channel clearance before committing to cabinet depth is worth the fifteen minutes it takes.
3. One Lighting Circuit, Four Tasks
Compact kitchens tend to get a single overhead fixture and nothing else, which means every work surface is either in shadow or too bright to be comfortable. The cookspace runs four clip-on task lights from a single power strip mounted under the wall-side shelf — one over the prep area, one over the induction station, one angled at the pegboard tool wall, and one aimed at the dining ledge that doubles as a pass-through.
Each light is independently switched with a small toggle on its cord. Total wire management: two velcro ties and a cable clip. We’ve covered the surprisingly flexible world of task lighting at counter level in more detail in our clip-on lights piece, but the core principle here is that zoned lighting in a tight kitchen reduces visual clutter almost as much as physical decluttering does.
4. The Folding Ledge That Replaced a Dining Table
Against the wall opposite the galley run, there’s a 10-inch-deep folding ledge — essentially a barrister shelf hinge, a length of 3/4-inch maple plywood, and two hairpin legs that fold flat when the ledge drops. When deployed, it seats two on stools and handles overflow prep. When folded, it disappears to a 3-inch projection from the wall, which in a 60-square-foot room is the difference between a walkable space and an obstacle course.
The ledge surface is finished with the same oil-rubbed treatment as the counter, which makes it read as part of the kitchen rather than a folding table someone dragged in. That visual continuity — same material, same finish level — is one of those details that costs almost nothing at the planning stage and pays out in how the room feels.
5. Under-Counter Refrigeration, Full Stop
The full-size refrigerator is the single biggest space consumer in most small kitchens, and in this cookspace it was eliminated entirely. Two 24-inch under-counter drawer refrigerators are recessed below the counter run, one dedicated to produce and one to beverages and dairy. Combined capacity runs roughly equivalent to a 12-cubic-foot upright unit — adequate for two people cooking daily, tight but workable for entertaining.
The electricity draw on under-counter drawer units tends to run slightly higher per cubic foot than a full-size upright (confirm this against current Energy Star ratings for the specific unit you’re considering), but the spatial return is unambiguous: you recover an entire vertical column — roughly 14 by 28 inches of floor plan — that a standard refrigerator would have claimed.
This is the idea on the list with the highest cost attached, so it warrants a hard look at your actual storage needs before committing. If your household goes through large quantities of bulk-purchased groceries, drawer refrigeration is probably undersized. If you shop frequently and eat fresh, it’s a reasonable trade.
Where to Start if Your Kitchen Has Similar Constraints
Audit your walking channel first. Measure the narrowest point of your current galley or work zone with a tape measure — not an app — and record it in inches. Thirty-six inches is the practical minimum for one person to work comfortably; anything below 32 inches and every solution above becomes more urgent. That single measurement should drive the cabinet depth decision before anything else. From there, the pegboard wall and the lighting zones are low-cost enough to test before you commit to a single piece of furniture or a cabinet order.
If you’re working on a longer renovation plan for a compact urban kitchen, the framing and cost-staging questions in our builder-grade kitchen upgrade piece apply here too — particularly around sequencing surface changes after you’ve locked in the spatial layout.