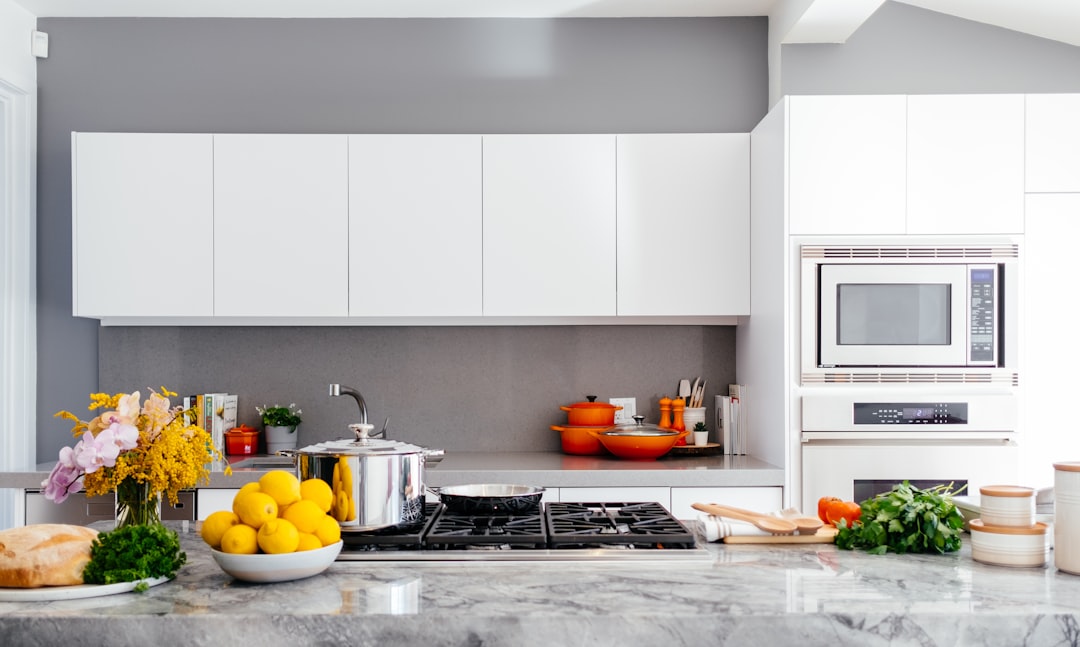
A poorly lit kitchen photograph doesn’t just look bad — it quietly signals neglect, even in a space that’s been recently renovated. Buyers scrolling through listings on a phone screen make snap judgments in under two seconds, and the kitchen is usually the first room they look for. Getting that shot right is less about expensive gear and more about understanding exactly what the camera sees versus what a person standing in the room perceives.
Here’s what we’ve learned from working through the specifics.
Start With the Room, Not the Camera
Before any equipment comes out, the kitchen has to be staged correctly. This sounds obvious, but the usual mistakes are surprisingly consistent: a full dish rack on the counter, a cluttered refrigerator door covered in magnets, under-cabinet lighting left off, and a garbage can still visible in the corner. The camera doesn’t editorialize — it records everything with equal weight.
The staging checklist we’d run through before a single shot:
- Countertops: Clear to bare surfaces, then add back only one or two deliberate props (a cutting board, a small bowl of fruit in a complementary color, a coffee maker if it’s architectural-looking). Three items maximum, placed off-center.
- Sink: Empty and dry. Run a paper towel around the faucet base — water spots catch light badly and read as grime.
- Appliances: Wipe down every stainless surface with a microfiber cloth going with the grain, not against it. Smeared stainless under a flash looks worse than plain white.
- Cabinet fronts: Close every drawer and door. Check hinges. One slightly open cabinet becomes the eye’s anchor point in a wide shot.
- Refrigerator: If it’s visible from the primary shooting angle, remove everything from the door. Every magnet, every menu, every child’s drawing.
- Lighting: Turn on every light source in the room — overheads, under-cabinet strips, pendant lights, range hood light — before evaluating the scene.
If the kitchen has dated elements that could undercut buyer interest, it’s worth knowing which ones actually affect perception. 9 Dated Kitchen Trends That Don’t Add Value to Your Home covers several that show up regularly in listing photos at exactly the wrong moment.
Gear and Settings: What Actually Moves the Needle
A full-frame mirrorless or DSLR body with a wide-angle lens in the 16–24mm equivalent range is the standard working setup for interior photography. Most crop-sensor bodies can do the job with a 10–18mm lens. Go wider than 16mm equivalent and you start getting barrel distortion that makes counters bow and cabinets look like they’re leaning away from each other — not an effect that reads as spacious, just as amateur.
Aperture between f/7.1 and f/11 keeps the full depth of a galley or L-shaped kitchen sharp without pushing diffraction softness. ISO should stay at or below 400 if you’re using a tripod (which you should be). A shutter speed of 1/15s to 1/2s on a stable tripod gives the sensor time to collect ambient light without noise.
The single biggest technical issue in kitchen photography is mixed color temperature. Incandescent pendants over an island, daylight streaming from a window, and cool-white under-cabinet LEDs can all be operating simultaneously, each at a different Kelvin rating. Set the camera to a manual white balance — take a custom reading off a gray card placed at counter height in the middle of the space — rather than trusting Auto WB. In post-processing (Lightroom, Capture One, or similar raw processors), you can then address window highlights separately using a graduated filter or luminosity mask without shifting the overall cast.
For situations where a window is blowing out while the rest of the room is underexposed, bracket three to five exposures (typically at -2, 0, and +2 EV) and blend them. HDR blending tools inside Lightroom or dedicated software like Photomatix handle this automatically; manual blending in layers gives more control over halos near window frames.
Light: What You Bring Versus What’s Already There
Natural light from a north-facing window is close to ideal — soft, diffuse, no hard shadows. East-facing windows work well in the morning. South and west windows midday are a problem: harsh direct sun creates contrast ratios the camera can’t handle cleanly, and you’ll spend time in post that would’ve been saved by shooting at 8 a.m. or after 4 p.m.
When natural light is insufficient or unpredictable, a single off-camera strobe or a continuous LED panel bounced off the ceiling creates a soft overhead fill that mimics natural ambient light without the color temperature fight. Position it out of frame, aimed at a 45-degree angle toward the ceiling, never pointed directly at reflective surfaces. Stainless backsplashes and glossy cabinet fronts return hotspots that look like overexposure even when nothing is actually overexposed.
If you’re working with a tighter equipment budget, clip-on LED panels can supplement existing room light in a pinch — they won’t replace a proper strobe setup, but clamped to a cabinet above the shooting line, they lift shadow areas in lower cabinets and toe kicks without requiring a power pack.
Angles and Composition
The standard listing shot is taken from a corner or doorway, at roughly counter height (34–36 inches from the floor), on a tripod. Shooting from standing eye height (around 60 inches) makes ceilings feel low and countertops feel wide — not a flattering combination. Getting lower pulls the space open.
For a galley kitchen, shoot straight down the long axis from one end to maximize perceived depth. For an L-shaped or U-shaped kitchen, find the corner opposite the primary work zone so you capture countertop real estate, storage, and the range or cooktop in a single frame. Islands deserve a dedicated secondary shot from a slightly elevated angle — roughly 42–48 inches — that shows the counter surface, seating, and pendant lights together.
One shot that’s frequently missed: the sink-to-window composition. If there’s a window above the sink, position the camera behind and slightly to the side so both the interior of the kitchen and the window view are visible. This establishes natural light and a sense of the space connecting to the exterior — buyers respond to it.
Final Review Before You Leave the Space
Before packing up, review every image at 100% zoom on the back of the camera or on a laptop. Look specifically for:
- Visible power cords or charging cables on counters (these are invisible to the eye when you’re busy shooting, obvious in the final image)
- Ceiling fan blades mid-blur from a slow shutter (turn the fan off)
- Reflections of the tripod legs in oven doors or refrigerator panels
- Any color cast that didn’t flatten during the shoot — it’s easier to reshoot than to fix a strong magenta cast in post without also shifting the wood tones in cabinetry
If the kitchen has significant physical limitations — a tight galley, low ceilings, a window placement that fights every angle — the photography can only do so much. Understanding how the actual layout affects shot options before the session saves time and resets expectations. For tighter kitchens specifically, it’s worth reviewing how a tunnel-like kitchen layout was reframed as an open retreat to understand what layout changes make the photography easier downstream.
Your next step: before the shoot, photograph the room with your phone from every candidate angle at actual counter height, then review those images on a desktop monitor — not the phone screen. You’ll immediately see which angle shows the most counter surface, hides the most clutter, and uses the available window light best. Use that as your primary tripod position and work outward from there.