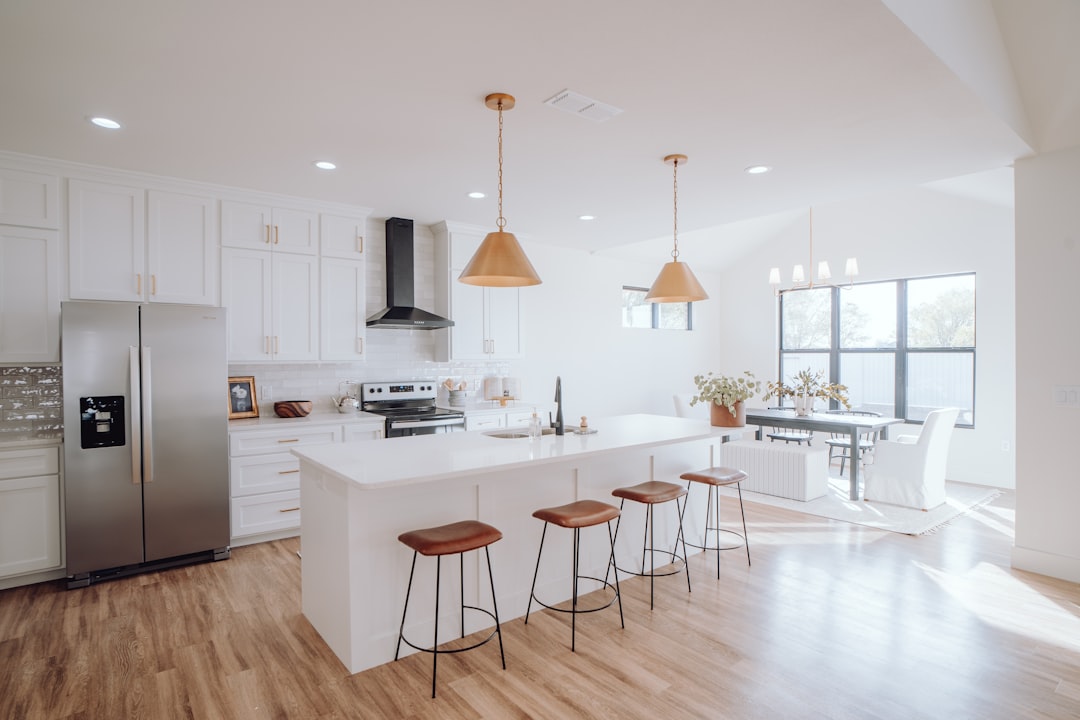
Replacing kitchen cabinets runs anywhere from $5,000 to $15,000 or more once you factor in boxes, hardware, and installation — so when a painted-cabinet makeover holds up and genuinely transforms a kitchen, it’s worth understanding exactly how. The $600 figure gets thrown around a lot online. It’s achievable, but only if you spend the money in the right places and don’t skip the steps that look optional but aren’t.
Why Paint Fails on Cabinets (and Why Yours Won’t)
Cabinet paint fails for one reason almost every time: inadequate surface prep. Not wrong color. Not cheap paint. Prep.
Kitchen cabinet faces accumulate years of grease, cooking vapor, and cleaning product residue. Even cabinets that look clean will cause paint adhesion problems if you skip a proper degreasing step. A TSP substitute (trisodium phosphate alternative, widely available at hardware stores) wiped down with a clean cloth, followed by a light scuff with 220-grit sandpaper, is the minimum starting point. Skip either step and you’ll be repainting inside 18 months.
After degreasing and scuffing, the surface needs a bonding primer — not a standard drywall primer, which soaks in differently and won’t grip the same way on a sealed wood or thermofoil surface. Shellac-based primers bond aggressively and dry fast; water-based bonding primers (look for ones explicitly labeled for “slick surfaces” or “previously painted cabinets”) are easier to clean up and work well if you apply them thin and let them cure fully before topcoating.
The curing window matters more than most guides admit. A primer coat can feel dry to the touch in 30 minutes. That doesn’t mean it’s ready for paint. Give it a full 24 hours in a reasonably warm, low-humidity space before you sand lightly with 320-grit and apply your first topcoat.
The Budget Breakdown That Actually Adds Up to $600
Spend in the wrong order and you’ll either blow past the budget or underinvest where it counts. Here’s a realistic allocation to check against current prices at your local hardware store, since material costs have been moving around enough that any specific figure needs to be verified before you buy:
- TSP substitute + lint-free rags: $12–20
- Bonding primer (1 quart covers roughly 100 sq ft of cabinet faces): $25–45 depending on brand and formulation
- Cabinet-specific enamel paint, satin or semi-gloss finish: $45–75 per quart; plan for two quarts minimum on a standard 10-cabinet kitchen
- 220-grit and 320-grit sandpaper (sanding sponges work better on recessed panel detail): $10–15
- New hardware — pulls and knobs: This is where the transformation budget goes. A full kitchen of hardware at $4–12 per piece adds up fast. Budget $80–200 here depending on how many doors and drawers you’re updating
- Small foam rollers (4-inch, fine-nap) and quality synthetic-bristle brush: $15–25
- Painter’s tape, drop cloths, cleaning supplies: $20–30
Total: roughly $210–$410 for paint and prep materials, with hardware making up the rest of the budget. That leaves room to go slightly more expensive on hardware without blowing $600 total — which is often the right call, since hardware is the detail people physically touch and notice up close.
If your cabinets have old hardware holes that don’t match your new pulls, factor in wood filler and an extra sanding step. This is a minor fix but skip it and it’ll show.
Color Choice Is a Decision, Not an Afterthought
The color you choose does more work than the application technique, within reason. Flat white on builder-grade oak cabinets is technically a transformation, but if the rest of the kitchen isn’t updated, it can just look like someone painted the old cabinets white. A more deliberate color — a warm greige, a deep navy, a muted sage — tends to make the whole kitchen look intentionally designed rather than freshly coated.
Our piece on the best kitchen cabinet paint colors by design style walks through the logic of pairing cabinet color to your existing flooring, countertop material, and natural light. Worth reading before you commit to a quart of anything.
One practical note: always buy a sample pot and brush it onto a large piece of cardboard, then hold it against the actual cabinet doors in your kitchen’s light, both in the morning and at night with overhead lighting on. Colors shift dramatically between natural and artificial light, and the chip on a paint store fan deck is almost useless as a guide.
Application Technique for a Smooth, Brush-Mark-Free Finish
Professional cabinet painters often spray, which gives the smoothest finish. If you’re brushing and rolling — which is the practical choice for most DIYers — you can get surprisingly close with the right technique.
Use a 4-inch fine-nap foam roller for the flat faces of cabinet doors. Roll lightly and in one direction, then tip off (drag a barely loaded brush lightly across the wet surface in a single direction) to eliminate roller stipple. This two-step on flat panels is the difference between a finish that looks painted and one that looks professional.
For recessed panel detail and frame members, a 2-inch angled sash brush beats a standard flat brush — the angled tip gives you control in corners without loading too much paint. Apply thinner coats than you think you need. Two thin coats with a light 320-grit sand between them will always outperform one heavy coat.
Remove all doors and drawer fronts before painting and lay them flat. Painting doors vertically while they’re hung on the cabinet box causes drips, uneven coverage, and paint bonding the door to the frame as it cures.
It’s also worth considering what else in the kitchen is doing the visual heavy lifting. A builder-grade kitchen upgrade with a backsplash swap shows how a surface change in a different plane of the room can amplify what the cabinet color is doing — the two projects together often look more expensive than either one alone.
Before You Start: The One Check That Saves You From a Costly Surprise
Look at your cabinet doors closely under raking light — angle a flashlight across the face at a 30-degree angle. Any delamination on thermofoil doors (the heat-formed vinyl finish common on 1990s and 2000s cabinets) will show up as bubbling or lifting at the edges. Paint does not fix delamination; it highlights it. If your doors are thermofoil and showing edge-lift, you have two options: peel the thermofoil entirely (it usually releases with heat from a hair dryer), sand the underlying MDF substrate smooth, prime with shellac, and paint — or replace just those doors, which is often cheaper than fighting the surface.
If you’re unsure whether your cabinets are solid wood, MDF-core, or thermofoil, knock on the door face and check the interior edge where the hinges mount. MDF is noticeably heavier than solid wood for the same size door, and thermofoil will show a seam on the back edge where the film wraps.
One more thing to verify before you price out the project: renovation mistakes often happen in planning, not execution. For cabinet painting specifically, that means confirming your ventilation situation (oil-based products need open windows and fans regardless of what the label says), checking that you have enough time for proper cure between coats, and not starting the project the week before a kitchen needs to be in full use.
Your next step: Remove one cabinet door, clean and prime it as described above, apply two finish coats, and evaluate the result before committing to the entire kitchen. A single door tests your technique, your color choice under real lighting conditions, and your patience for the cure time — all three of which matter more than any other variable in whether this project comes in at $600 and looks the part.