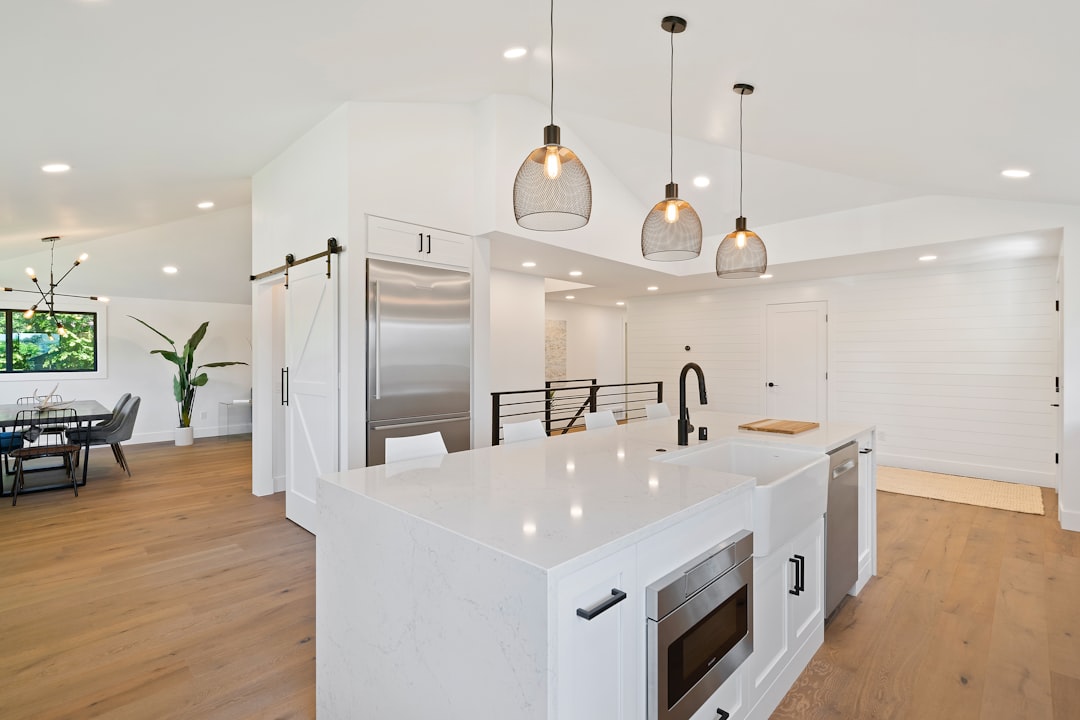
Autumn has a way of making interior problems harder to ignore. The light shifts, you spend more time inside, and suddenly that scuffed baseboard or dim entryway that you mentally filed under “deal with later” starts demanding attention. The good news: a focused, room-by-room refresh costs a fraction of what a contractor-led remodel runs — and most of the work can happen in a weekend or two without touching a load-bearing wall.
These seven approaches are grounded in specific materials, measurable steps, and honest cost ranges. None of them require a permit.
1. Repaint One Room — but Commit to the Right Sheen
A single-room paint job is the highest-return refresh in this entire list. The catch is that most people undercut their own results by choosing the wrong finish for the light conditions. Flat paint reads beautifully in photographs but absorbs rather than reflects the lower-angle autumn light that comes through windows between October and February. In a darker room, bump up to eggshell (a sheen rating roughly between flat and satin) — it reflects just enough to read warmer under artificial light without looking plasticky.
If you’re working in a kitchen or bathroom, satin or semi-gloss gives you the scrubbability you’ll eventually need. Run a test swatch at least 12 inches square and photograph it under both daylight and your evening lamp before committing to a full gallon. We’ve written about how a few well-chosen colors can reframe a room’s entire mood — this kitchen transformation using four colors is a useful reference for how dramatically paint alone can shift a space without touching cabinets or appliances.
2. Swap Out Lighting Hardware Before You Touch Anything Else
Fixture swaps are underrated. A builder-grade flush-mount ceiling light with a frosted dome does more damage to a room’s atmosphere than people realize — the diffused light it throws is flat and casts almost no shadow, which eliminates visual depth.
Replacing it with a semi-flush or pendant fixture that directs light downward creates contrast, which your eye reads as dimension. This matters more in fall when natural light drops off by mid-afternoon. If hardwiring a new fixture isn’t in the plan, plug-in sconces and clip-on task lights are a legitimate interim option — our piece on clip-on lighting covers how to use them without the result looking improvised.
Budget estimate: plug-in options typically run $30–$120 per fixture; hardwired swaps run higher depending on electrician rates in your area — confirm locally before planning.
3. Reseal or Refinish Hardwood Floors — Without Sanding Them Down
Full hardwood refinishing (drum sander, three coats of polyurethane) is a multi-day project that empties a room and requires significant ventilation. Screen-and-recoat is the version most homeowners skip, and they shouldn’t. It involves scuffing the existing finish with a floor buffer and a sanding screen, cleaning the surface, and applying one fresh coat of finish — no sanding to bare wood required.
This approach works when the floor has surface scratches and dullness but no deep gouges or gray weathering (which indicates moisture damage below the finish layer). Water-based polyurethane dries in roughly two hours between coats and reaches full cure in about 72 hours; oil-based runs slower but produces a warmer amber tone that reads well in autumn light. A 300-square-foot room typically takes a half-day to screen and one additional coat to finish — verify product coverage rates on the can, since they vary between brands.
4. Address the Closets Before Winter Layers Take Over
October is exactly when closets hit capacity — summer gear is coming out, cold-weather gear is going back in, and a disorganized system falls apart fast. Reconfiguring a closet with standard components (adjustable shelving, a second hang rod, a few deep drawers) can recover 30–40% of usable volume in a reach-in that’s been running on its factory-installed single rod-and-shelf setup since the house was built.
Measure the interior dimensions carefully before ordering anything — reach-in closets vary more than you’d expect, and standard modular units are sized for 24-inch or 12-inch depth increments. These nine storage tactics for small closets are worth reviewing before you commit to a specific system, particularly the section on vertical space above the primary hang rod.
5. Caulk and Weatherstrip — It’s Boring, and It Works
This is the least photogenic item on this list and one of the most effective. Failed caulk around window frames, door frames, and baseboards lets conditioned air escape and exterior air seep in. In older homes especially, the cumulative gap area around a typical door can equal a fist-sized hole in the wall.
Self-adhesive foam weatherstrip around door frames costs roughly $8–$15 per door and takes about fifteen minutes to apply. Silicone caulk around window trim is more durable than latex for exterior-facing surfaces; latex remains easier to paint over for interior trim. Run your hand along the perimeter of windows and exterior doors on a cold, windy day — you’ll find the drafts immediately without any equipment.
6. Update Cabinet Hardware Throughout the Kitchen or Bath
Cabinet hardware is a 45-minute swap per room that changes how a space photographs and reads in person. Builders install hardware to a price point, which usually means thin zinc pulls in a finish that shows wear within a few years.
Replacing pulls and knobs with solid brass or stainless options adds tactile weight — people notice this even before they notice the finish. Measure the existing hole spacing (center-to-center, typically 3 inches or 3.75 inches for pulls) before ordering anything. If you’re considering a broader kitchen update, our look at dated kitchen trends that erode value is useful context for separating changes with staying power from ones that will feel stale quickly.
7. Hang a Curtain Rod Four Inches Above the Window Frame
This one is architectural sleight of hand. Mounting curtain rods at the factory-standard position — just above the window frame — makes ceilings feel lower and rooms feel boxed in. Mounting the rod 4 to 6 inches above the frame, or closer to the ceiling line if the ceiling allows it, draws the eye upward and reads as a taller window even though nothing structural changed.
Use a level, not your eye, for this. A rod that’s off by even 3/16 of an inch from level will be obvious once the fabric hangs. Drapery panels should skim the floor or break slightly — roughly a half-inch of pooling is generally considered intentional; two inches starts to look like a measurement error.
Where to Start
Pick the room you spend the most time in from October through February and run through items 1, 2, and 7 in a single weekend. Lighting, paint sheen, and curtain height are the three changes that interact with seasonal light shifts directly. Once those are done, you’ll have a clearer read on which of the remaining items — floors, hardware, closets, weatherstripping — will make the biggest difference. Sketch the room’s dimensions before you shop for anything; our room planning calculator walkthrough can help you think through proportions before committing to furniture placement or fixture sizing.