Before touching a shovel or calling a contractor, measure the space in segments — not as one open rectangle. That single habit separates backyard makeovers that feel thought-through from the ones that end up with a patio floating awkwardly in a corner and dead zones on every side.
The phrase “unusable backyard” covers a lot of ground, literally. Sometimes it’s a slope that sheds water toward the house. Sometimes it’s a narrow strip hemmed in by a fence, or a flat pad of cracked concrete that bakes in afternoon sun and gets used roughly never. In almost every case, the root problem is the same: the space lacks a defined purpose, and without one, people instinctively stop going out there.
Turning that around doesn’t require a landscape architect’s budget. It does require treating outdoor square footage the way you’d treat an interior room — with zones, sightlines, and a clear answer to the question: what is this space actually for?
Start With a Scaled Ground Plan, Not a Mood Board
The temptation is to look at inspiration photos first. Resist it. You’ll fall in love with a layout designed for a 40-by-60-foot yard when yours is an irregular 22-by-38-foot L-shape, and you’ll spend the next six months wondering why nothing quite fits.
Measure the perimeter of the yard at ground level using a laser distance meter — a decent one runs well under $50 and reads to within an eighth of an inch, which is close enough for planning purposes. Measure again at any grade change if the yard slopes; a 6-inch drop across 15 feet has real implications for drainage and any platform or deck you’re considering. Note which walls or fences get direct sun at 10 a.m. and 3 p.m., since that determines where a seating area will actually be comfortable.
Then sketch a scaled plan on graph paper or drop the measurements into a free floor-plan app. Use a 1:12 ratio (one inch equals one foot) if you’re working by hand — it gives you enough resolution to test furniture layouts without the paper getting unwieldy. At that scale, a 10-foot dining table and chairs takes up roughly 10 by 14 inches of plan space once you’ve added the standard 36 inches of clearance on all sides for chair pull-out.
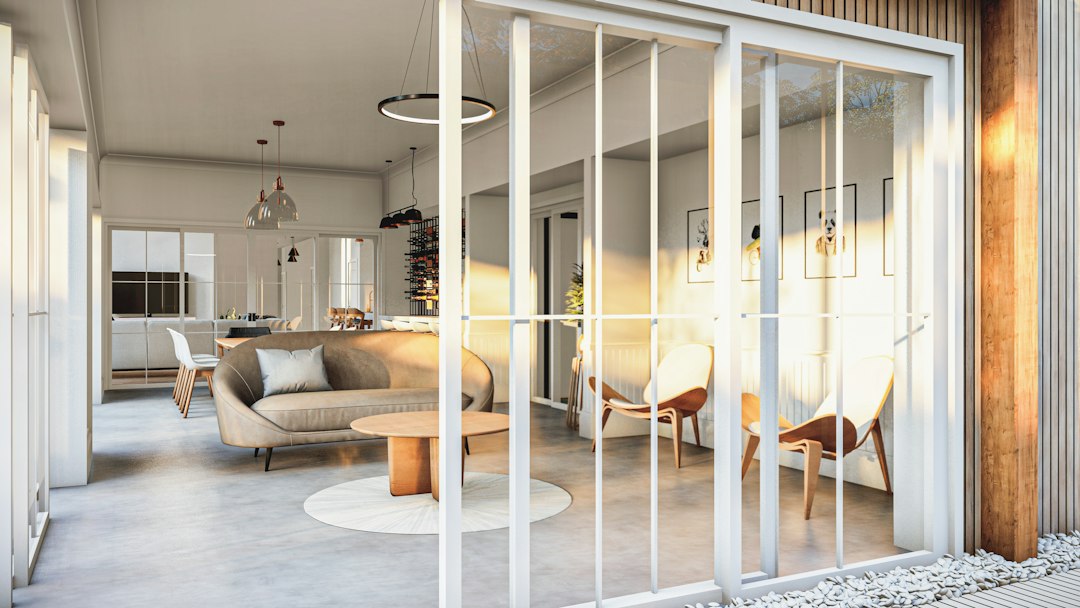
If the yard attaches to interior living space, a narrow or awkward interior layout can compound the problem by making the transition between inside and outside feel disconnected. Accounting for the interior threshold — door swing radius, step height, sightline from the kitchen window — in your outdoor plan pays off in daily usability.
The Zone Method: Same Logic as Interior Spatial Planning
A functional room has a primary purpose and secondary uses organized around it. A backyard that “works” operates the same way.
Identify your primary zone first — dining, relaxing, gardening, kids’ play — and give it at least 10 by 12 feet of dedicated footprint. That’s the minimum for a 4-person table with adequate circulation. Secondary zones (a container garden, a reading bench, a fire pit) fill the remaining area, ideally positioned so you can use them without walking through the primary zone.
A few practical zone rules worth noting:
- Hardscape anchors behavior. A poured concrete or paver pad signals “this is where we sit,” even if there’s no furniture on it yet. Without it, chairs migrate and the space feels provisional.
- Overhead definition changes everything. A pergola, shade sail, or even a simple 10-by-10-foot canvas canopy makes a seating area feel enclosed without walls. The psychological effect is similar to lowering a ceiling in an interior — it pulls the space inward and makes it feel occupied rather than exposed.
- Edge planting reduces visual noise. A consistent planting bed along one fence line draws the eye in one direction and makes the remaining open area feel intentional rather than leftover.
- Storage prevents sprawl. A deck box or small outdoor cabinet — dimensions matter here, since most standard deck boxes are around 100–130 gallons and roughly 50 inches long — keeps cushions, tools, and kid gear from colonizing every horizontal surface.
The Grade Problem: What Most DIY Plans Ignore
If the yard slopes, everything above applies and then some. A grade change of more than 2 inches over 10 feet — which is a 1.7% slope, and many yards exceed this significantly — creates drainage issues that will defeat any landscaping that doesn’t account for it. You’ll end up with a beautiful patio that pools water after every rain.
Three realistic approaches, depending on slope severity:
- Regrade and add a French drain. Works for moderate slopes; the drain intercepts water before it reaches the patio. Materials cost varies significantly by region, so get at least two quotes and confirm whether your municipality requires a permit for grading work.
- Build a raised platform or deck. Steps over the grade change entirely. The platform becomes the primary zone; the sloped area below stays as plantings or lawn. The deck-to-grade clearance also determines whether you need permits — check local building codes, since many jurisdictions trigger a permit requirement at 30 inches of height above grade.
- Terrace with retaining walls. Creates multiple level zones. More complex and more expensive, but genuinely expands usable area on a steep lot.
Whichever route you take, get a soil probe or ask a landscaping contractor to check for clay-heavy soil before laying any hardscape. Clay retains water, heaves with freeze-thaw cycles (even in mild climates to a minor degree), and will crack a poured slab faster than any other variable.
Lighting and the Evening Extension
An outdoor space that’s only usable in daylight is losing half its potential hours. This is one of the lowest-cost, highest-impact upgrades in backyard planning: add lighting, and the zone stays in use after dinner.
Low-voltage path lights on a 12V transformer are simple enough for a DIY install and don’t require pulling permits in most jurisdictions. String lights hung at roughly 8 feet above finished grade — attached to the pergola, fence posts, or purpose-built posts set in weighted planters — cast enough ambient light for dining without washing out the outdoor atmosphere. For task areas near a grill, a waterproof mounted fixture rated for wet locations (look for UL listing codes WET or DAMP, which are marked on the fixture packaging) handles cooking light without an extension cord running across the patio.
If you’ve been thinking about refreshing the home in lower-cost, reversible ways, backyard lighting belongs on that list — the materials cost is modest, the change in how the space feels after dark is immediate, and the work is reversible if you eventually want to reconfigure.
The Actual Next Step
Before you finalize any zone plan, walk the yard at three specific times: early morning, midday, and the hour before sunset. Document where the shade falls each time. At least one of those windows will contradict what you assumed about sun exposure, and that single piece of information — which corner gets afternoon shade — is often the detail that determines where the primary seating zone should actually go.
Once you have those observations, run the dimensions through a scaled layout and map the zones against real furniture sizes, not the aspirational dimensions in a catalog. If you want to check how different patio dimensions interact with standard outdoor furniture clearances, our spatial planning calculator approach applies just as well outdoors as in.
The backyard that felt useless usually isn’t missing square footage — it’s missing a plan that treats it like a room.